Microsoft Exchange - Install Microsoft Exchange

by
Jeremy Canfield |
Updated: March 10 2020
| Microsoft Exchange articles
- Sign into the PC as domain\Administrator.
- In File Explorer, navigate to the directory that has the Exchange installer.
- Right-click on Setup and select Run as Administrator.
- At Check for Updates, tick Connect to the Internet and check for updates and select Next.
- At Introduction, select Next.
- At License Agreement, tick I accept the terms in the license agreement and select Next.
- At Recommended Settings, tick Use recommended settings and select Next.
- At Server Role Selection, tick Mailbox role, Client Access role, and select Next.
- At Installation Space and Location, select Next.
- At Exchange Organization, enter the Organzation Name used when preparing Active Directory for Exchange, and select Next.
- At Malware Protection Settings, tick No and select Next.
- At Readiness Checks, select Install.
Microsoft Unified Communications Managed API 4.0.
During the install of Exchange, there is typically a prompt to install Microsoft Unified Communications Managed API 4.0. Follow the prompts to install Microsoft Unified Communications Managed API 4.0.
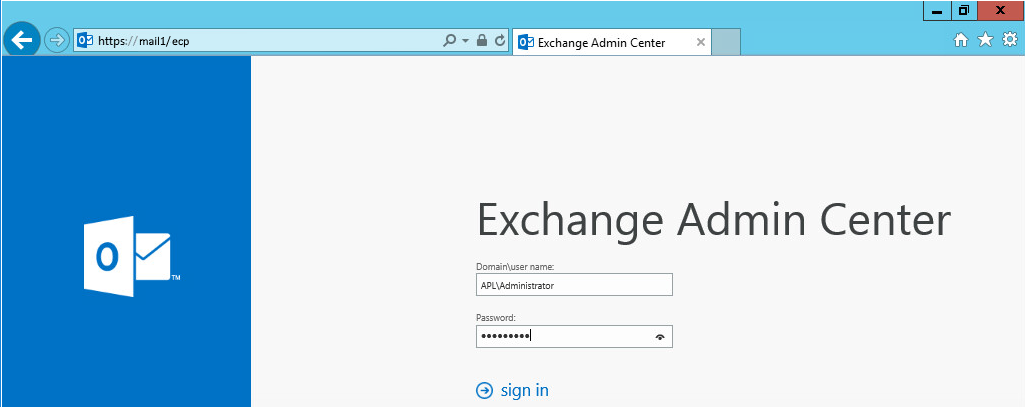
After install, using a web browser on the email server, you can sign into https://hostname/ecp (replace hostname with the name of your email server) to configure Exchange using a web interface.
Did you find this article helpful?
If so, consider buying me a coffee over at 