Puppet - Create a node group

by
Jeremy Canfield |
Updated: March 13 2020
| Puppet articles
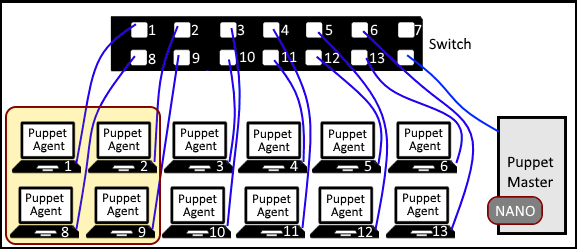
Lets say you want to distribute a certain software program to only a certain set of Puppet Agents. For example, lets say you only want Puppet Agent 1, 2, 8, and 9 to get Nano. You will create a node group, and the add nodes to the group.
A node group, as the name implies, is a group that contains one or more nodes.
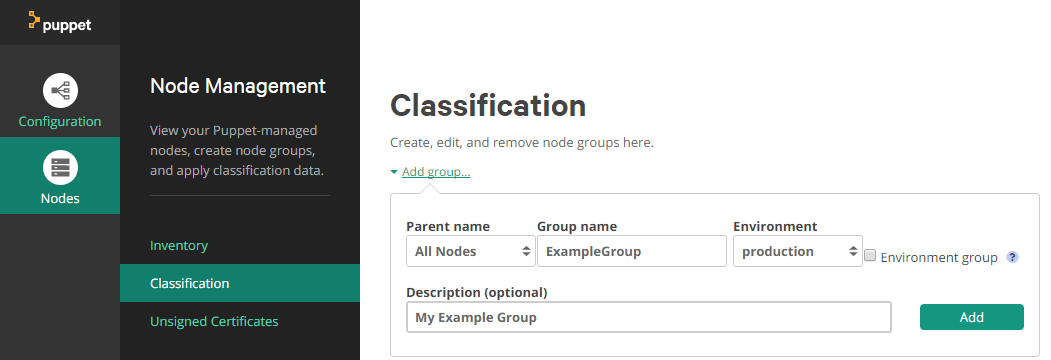
- In the left panel of Puppet Master, select Nodes.
- Select Classification.
- Select Add group.
- Complete the Add group form, and select Add.
In this example, a node group named ExampleGroup is created.
Add nodes to the group
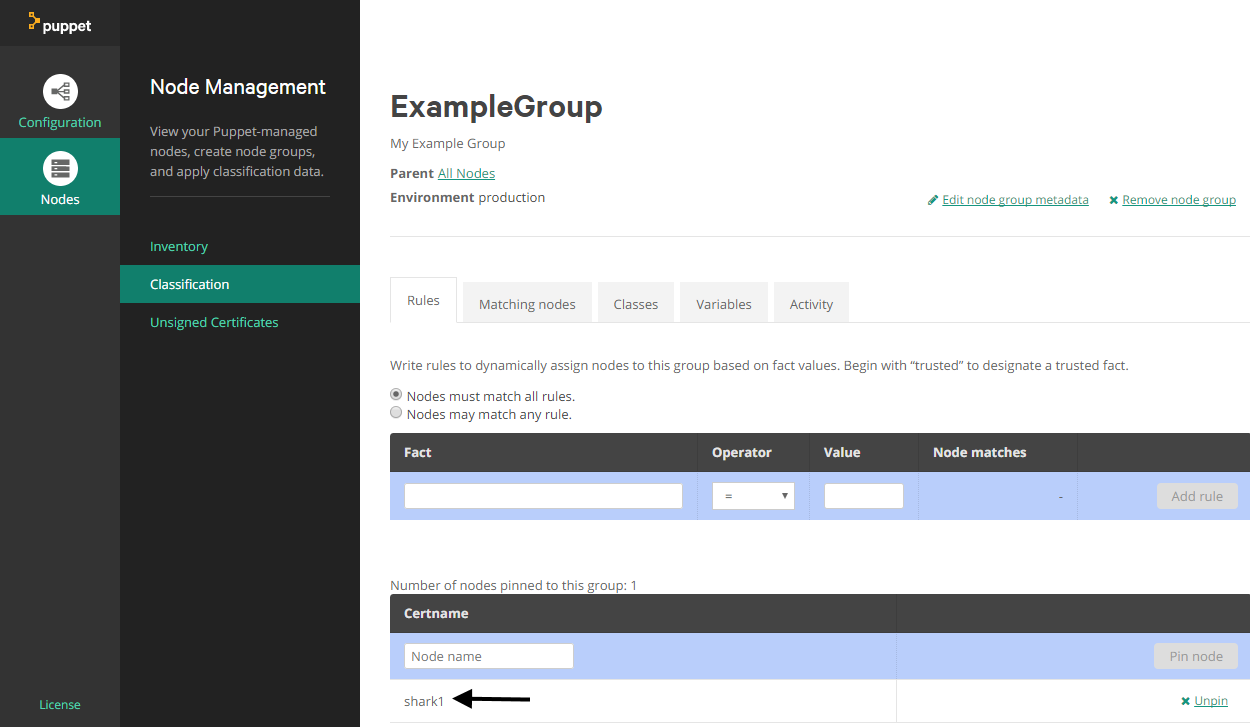
- In the left panel of Puppet Master, select Nodes.
- Select Classification.
- Select the group you want to add nodes to.
- Select the Rules tab.
- In Certname, enter the name of a node to add to the group, and select Pin node.
- Select Commit change.
In this example, a node named Shark1 was added to ExampleGroup.
Add classes to the group
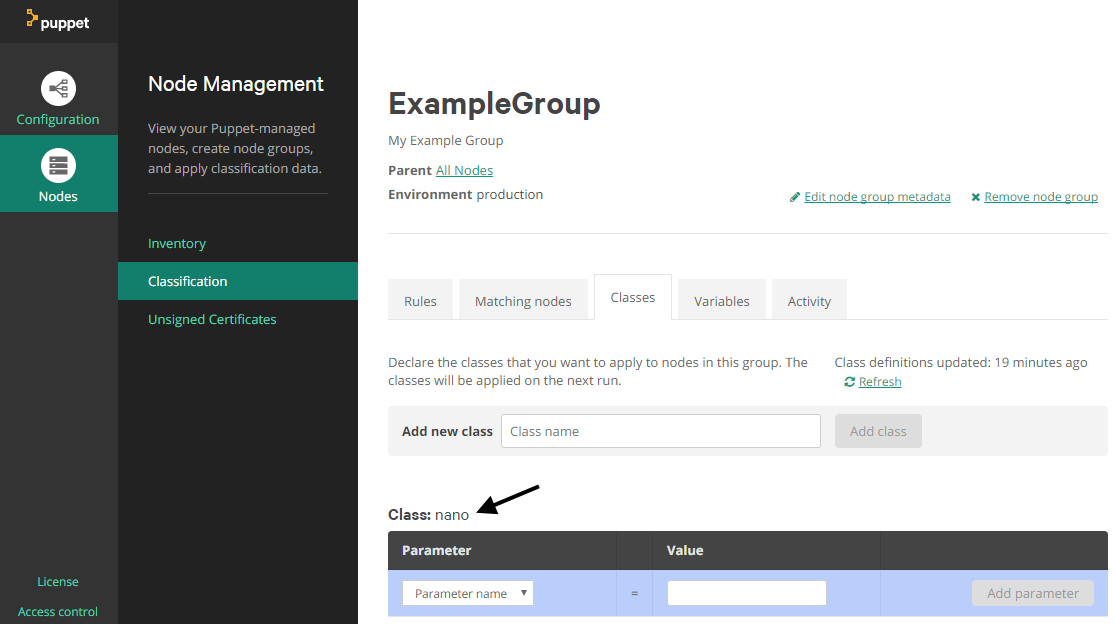
- In the left panel of Puppet Master, select Nodes.
- Select Classification.
- Select the group you want to add classes to.
- Select the Classes tab.
- In the Add new class form, type the name of the module you want to add and then select Add Class.
- Select Commit change.
In this example, a class named nano was added. This will install nano on the nodes in the group.
Did you find this article helpful?
If so, consider buying me a coffee over at 