
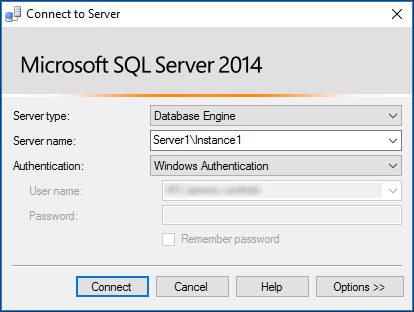
On the PC that SQL Server is installed, you can sign into SQL Server using the computer name followed by the instance name. For example, if the computer name is Server1 and the instance name is Instance1, you would enter Server1\Instance1 in the Server name field.
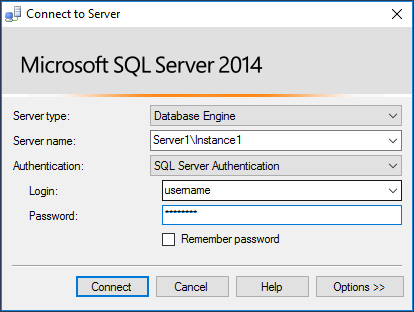
After you create a username and password in SQL Server, you can select SQL Server Authentication and enter your username and password.
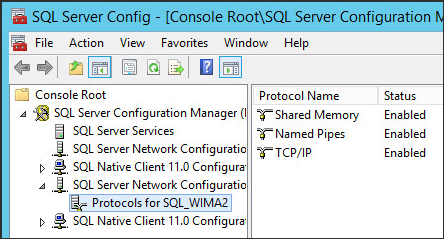
Instead of using the computer name, if you want to use an IP address to connect, enable TCP/IP:
- Select the Windows Start icon, type mmc.exe in search, and select mmc.exe.
- In the Console, press Ctrl + M (or select File > Add/Remove Snap In).
- Move the SQL Server Configuration Manager to Selected snap-ins and select OK.
- Expand SQL Server Configuration Manager > SQL Server Network Configuration > Protocols for instance_name.
- Right-click on Named Pipes and select Enable.
- Right-click on TCP/IP and select Enable.
- Right-click on TCP/IP, select Properties, and make the following adjustments:
- Ensure the IP address matches the IP address of your SQL Server
- Ensure Port number 1433 is listed
- Restart the PC.
You should now be able to connect using an IP address.

To connect to SQL Server from another computer in the network, ensure SQL Server is configured to allow remote connections:
- Sign into SQL Server
- In Object Explorer, right-click on the root object and select Properties.
- Select Connections.
- Ensure Allow remote connections to this server is checked.
Allow connections on port 1433 in Windows Firewall on the machine that has SQL Server installed.
- Select the Windows Start icon > Control Panel.
- Select Windows Firewall.
- Select Advanced settings.
- Select Inbound Rules.
- Select New Rule.
- Make the following selections in the New Inbound Rule Wizard:
- Check Port and select Next.
- Check TCP, enter port 1433, and select Next.
- Check Allow the connection and select Next.
- Check Domain, Private, and Public and select Next.
- Type Allow SQL Server port 1433 and select Finish.
- Select Outbound Rules.
- Select New Rule.
- Make the following selections in the New Inbound Rule Wizard:
- Check Port and select Next.
- Check TCP, enter port 1433, and select Next.
- Check Allow the connection and select Next.
- Check Domain, Private, and Public and select Next.
- Type Allow SQL Server port 1433 and select Finish.
You should now be able to connect to SQL Server from another PC in the LAN using the DNS name or IP address of the server.
To connect to SQL Server from a PC outside of the LAN, open port 1433 in your router.
Did you find this article helpful?
If so, consider buying me a coffee over at 