IBM WebSphere - Add or import a certificate into a keystore or truststore

by
Jeremy Canfield |
Updated: June 01 2025
| IBM WebSphere articles
If you are unfamiliar with the difference between a keystore and a truststore, check out this article.
Create a new certificate
- In the WebSphere admin console, expand Security and select SSL certificate and key management.
- Select key stores and certificates.
- Select a keystore or truststore.
- Select Personal certificates or Signer certificates (check out my article on Personal vs. Signer Certificates)
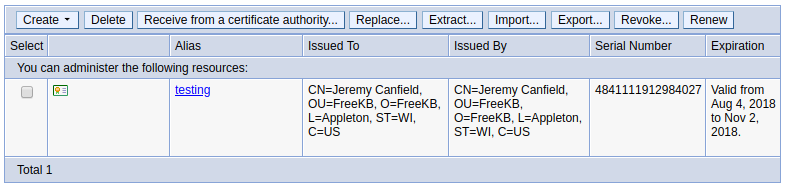
- Select Create, and then complete the form to create the certificate.
In this example, a certificate called "testing" was created.
Add a certificate using the Java keytool command
Check out my article Import a certificate into a keystore or truststore using the Java keytool command
Add a certificate by making a secured connection to a remote system
- In the WebSphere admin console, expand Security and select SSL certificate and key management.
- Select key stores and certificates.
- Select a trust store, such as NodeDefaultTrustStore.
- Select Signer certificates (check out my article on Personal vs. Signer Certificates)
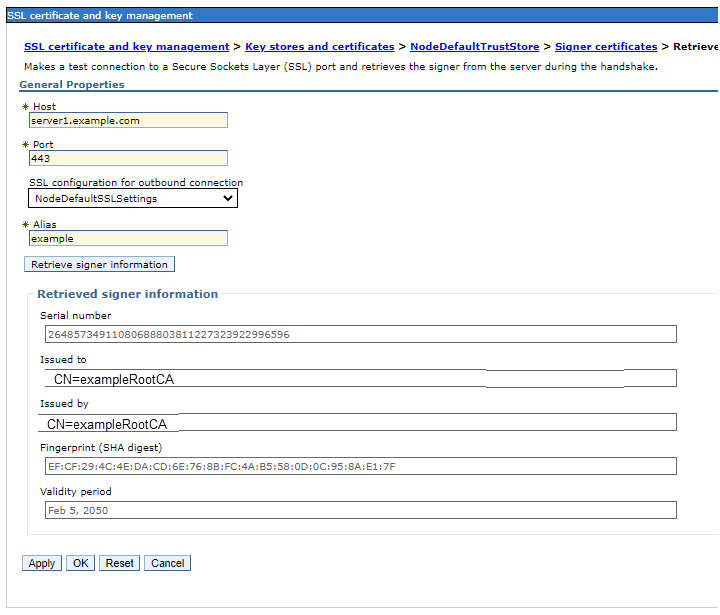
- Select Retrieve from port.
- In Host, enter the hostname of the remote system.
- In Port, enter the port that is used to connect to the remote system.
- SSL configuration for outbound connection will almost always be NodeDefaultSSLSettings.
- Alias can be anything you want, typically the alias of the certificate.
- Select Retrieve signer information.
If the remote system is able to provide the certificate that should be used to provided a secured connection, the certificate should be displayed. In this scenario, select OK to add the certificate to the NodeDefaultTrustStore.
Did you find this article helpful?
If so, consider buying me a coffee over at 