
Start new project, delete default cube, add mesh uvsphere.
Select the center vertices and (x) delete verticies.
Object Mode: Add Material Blue Sky.jpg.
Object Mode: Smooth.
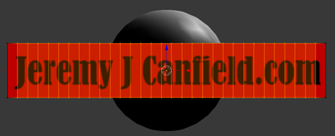
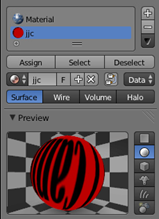
Object Mode: Add Image as Plane jjc.png. Remember to checkmark Shadeless and Use Alpha and to select Z Transparent. Change to Texture view.
(r) rotate (x) axis (90) degrees
(s) and make it appropriate size


Select jjc.png and go into edit mode. (ctrl r) loop cut and add 30 cuts [to make a total of 32 verticies, to match the number of verticies in the sphere.)
Object Mode: select jjc.png, hold shift, select sphere, ctrl j (join mesh objects).
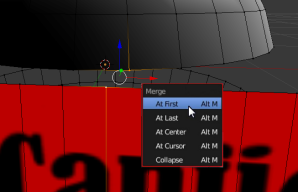
Edit Mode: Select sphere verticie, hold shift, select jjc.png verticie, alt M (merge) at first. Repeat this for all 32 verticies.
Tip: do this in solid view, it’s much easier to work in solid view.
There will be one empty face. Select the 4 verticies and (f) fill
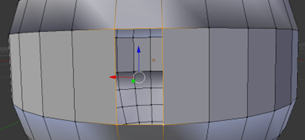
Assign the jjc texture to this one face.
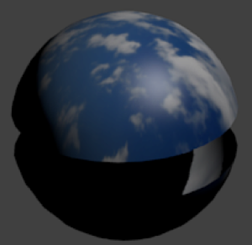
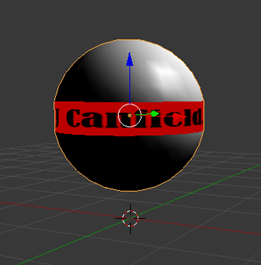
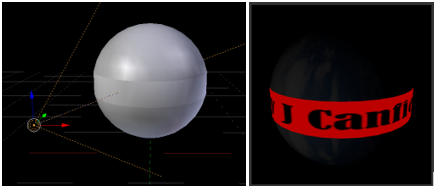
We should now have something like this. Our sphere is done. Now we need to add background, lights and position the camera.
Background
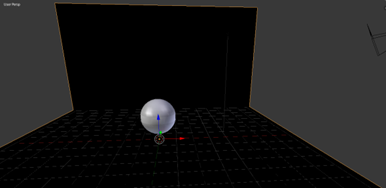
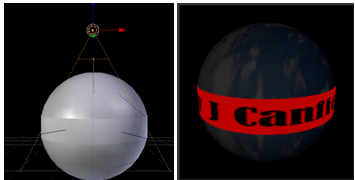
Shift C to snap cursor to center. The cursor should be in the center of the sphere. Move the sphere above the cursor.

Object Mode: Add Mesh Plane. (S) scale and make it big to cover the floor.
Edit Mode: Select 2 far side verticies. (e) extrude
Color this black
Camera
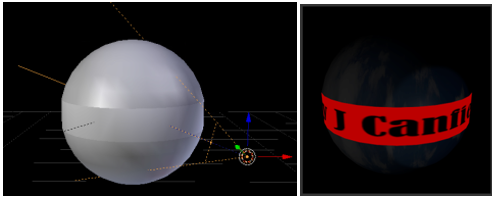
Select camera, hold shift, select sphere, ctrl t, track to constraint. Place the camera very close to the sphere.
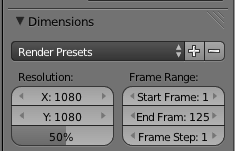
Adjust the resolution so that X and Y are the same. This will make it a square instead of a rectangle.
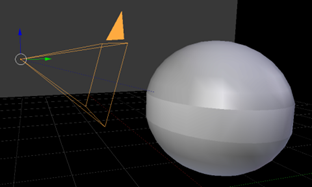

Now make final adjustments to the camera so that the sphere takes up most of the camera.
Lights
Spot Light 1. By default, there should already be one lamp. Change this to a spot light with 0.02 energy. Select spotlight 1, hold shift, select sphere, ctrl t, track to constraint. Uncheck specular (this removes the glare on the sphere). Position light at bottom left.
Spot Light 2. Add Lamp Spotlight. Energy 0.02. Select spotlight 2, hold shift, select sphere, ctrl t, track to constraint. Uncheck specular (this removes the glare on the sphere). Position light at bottom right.

Spot Light 3. Add Lamp Spotlight. Energy 0.03. Select spotlight 3, hold shift, select sphere, ctrl t, track to constraint. Uncheck specular (this removes the glare on the sphere). Position light at top center.
Animation
Texture view.
Go to frame 1. Select sphere and rotate so that Jeremy is showing
I (insert) r (rotation).
Go to frame 62. Rotate on z axis 180 degrees. Rotate on y axis 10 degrees.
I (insert) r (rotation).
Go to frame 125. Rotate on z axis 180 degrees. Rotate on y axis -10 degrees.
I (insert) r (rotation).
In World, change End Frame to 125.
Final Production (movie)
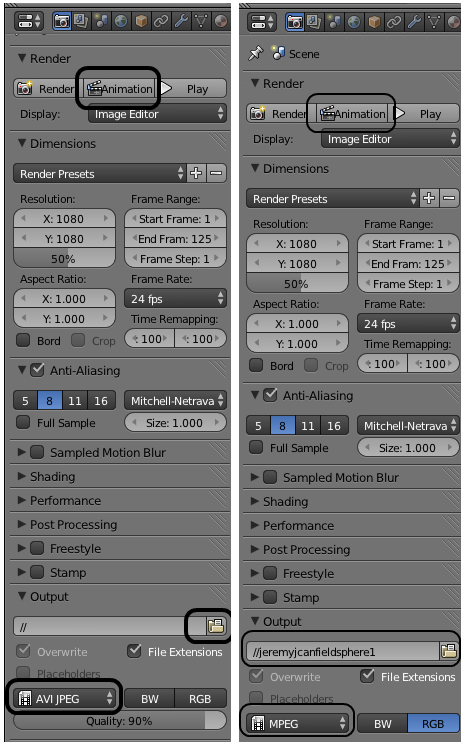
To make AVI or MPEG Movie, change output folder, select AVI Jpeg or MPEG, and Animation.
Final Production (animated gif)
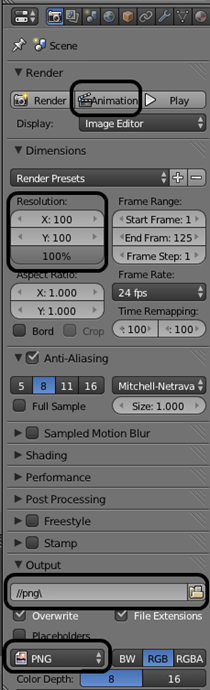
Change the resolution to 100x100 at 100% (because we need these files to be small in size). Make sure they are PNG, and then Animation. This will make 125 PNG files. The grueling part is that all 125 of these PNGs need to manually be coverted to GIFs, so that they can be made into an animated gif using unfreeze.
Did you find this article helpful?
If so, consider buying me a coffee over at 