
These are just my personal notes as I was working through the New to ServiceNow training modules.
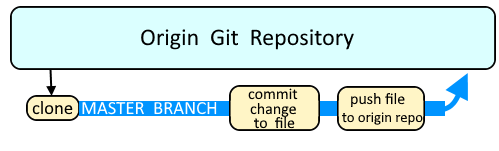
The most basic way to use Git is to use the git clone command to clone an origin Git repository (such as example.git) to a directory on your PC (such as /home/john.doe/git), make a change to a file in the cloned repository on your PC (such as example.txt), use the git commit command to commit the change to the file, and to then use the git push command to upload the file to the origin Git repository.
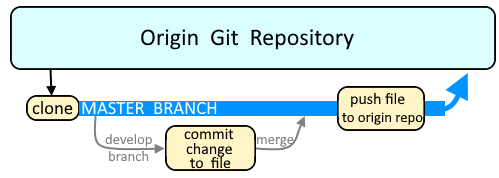
Branches are used as an isolated way to make changes to files in a repository. A common example would be to create a new branch using the git branch or git checkout command, switch to the new branch using the git checkout command, make a change to a file, commit the change using the git commit command, and then merge the branch to the master branch using the git merge command.
This assumes you have already imported an application from GitHub into ServiceNow. Check out my article Import a ServiceNow application from a GitHub repository.
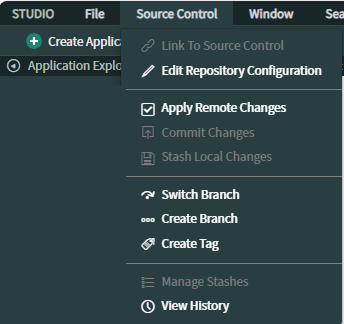
At All > Studio select Source Control > Create Branch.
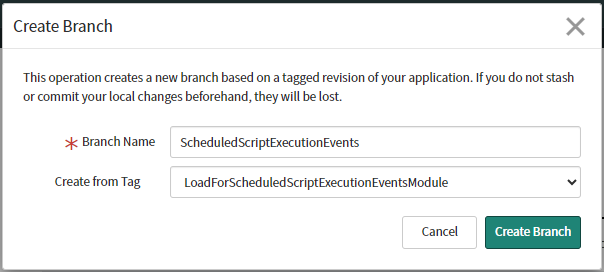
Enter the branch name, select a tag, and select Create Branch.
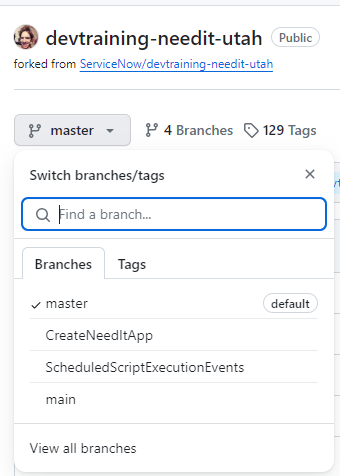
And you should see the branch in GitHub.
Did you find this article helpful?
If so, consider buying me a coffee over at 