
At a high level, there are 3 types of EC2 instances
- On Demand Instances (most common)
- Reserved Instances (this article)
- Spot Instances
Simply put, an EC2 Reserved Instance is the same as an EC2 on demand instance except that you are making a committment that you are going to use an EC2 instance for a dedicated period of time, such as 1 year, and in return, Amazon Web Services (AWS) will give you a discount on how much you will be charged for the EC2 instance. Pretty cool, eh?
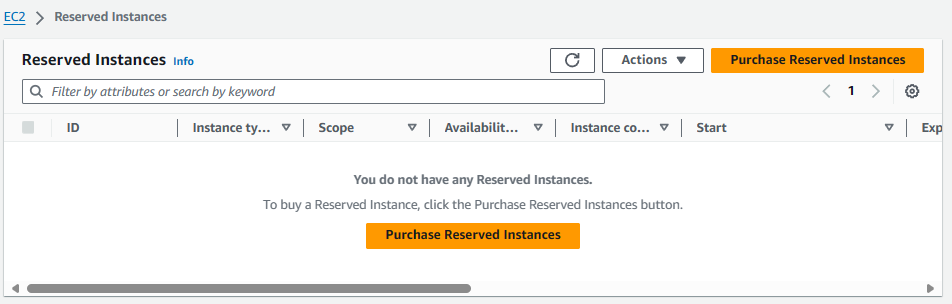
To get started, in the left panel of the EC2 console, select Reserved Instances > Purchase Reserved Instances.
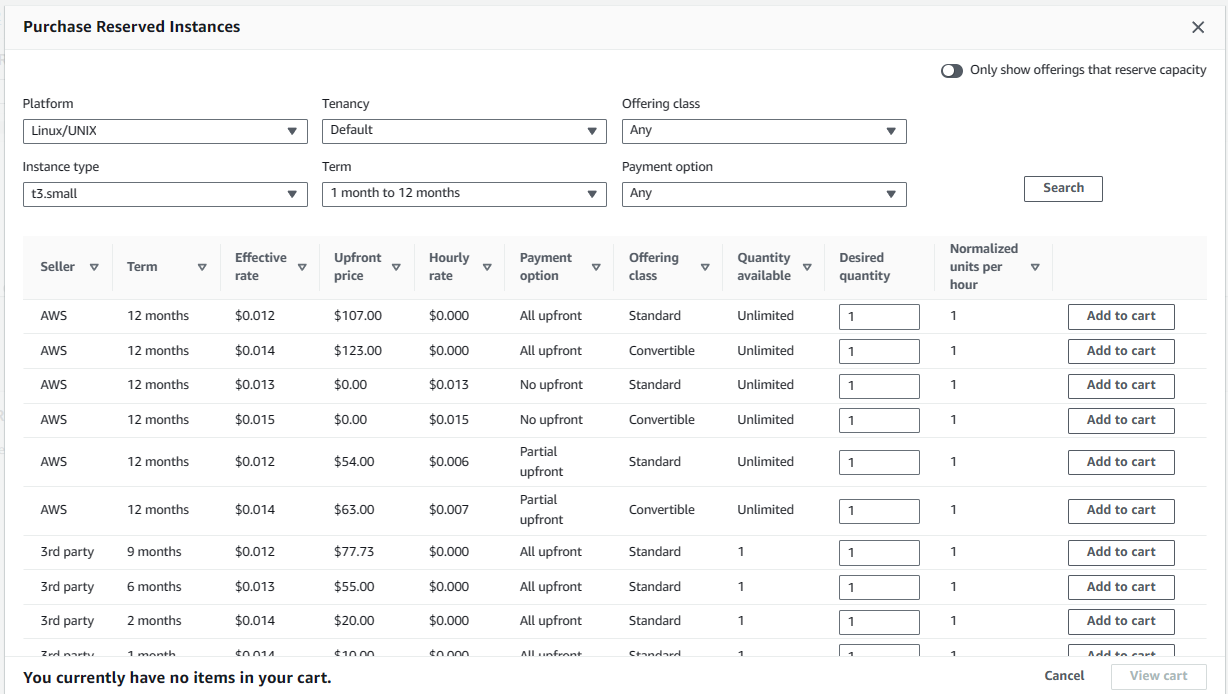
Make the following selections and select Search.
- Instance Type - You probably already have on demand EC2 instances running, so you'll want to search for instance types that are the same as your running EC2 instances.
- Offering class:
- Standard - You cannot exchange the Reserved Instance for another Reserved Instance
- Convertible - You can exchange the Reserved Instance for another Reserved Instance - If you are not 100% certain that the EC2 Reserved Instances will fit your needs, you'll definitely want to go with a Convertible as this will allow you to make a change inside of the window you are committing. Convertible will be a bit more expensive than Standard because Standard will not allow you to make a change.
- Tenancy
- Default - Your EC2 instance will run on shared hardware
- Dedicated - Your EC2 instance will run on dedicated hardware
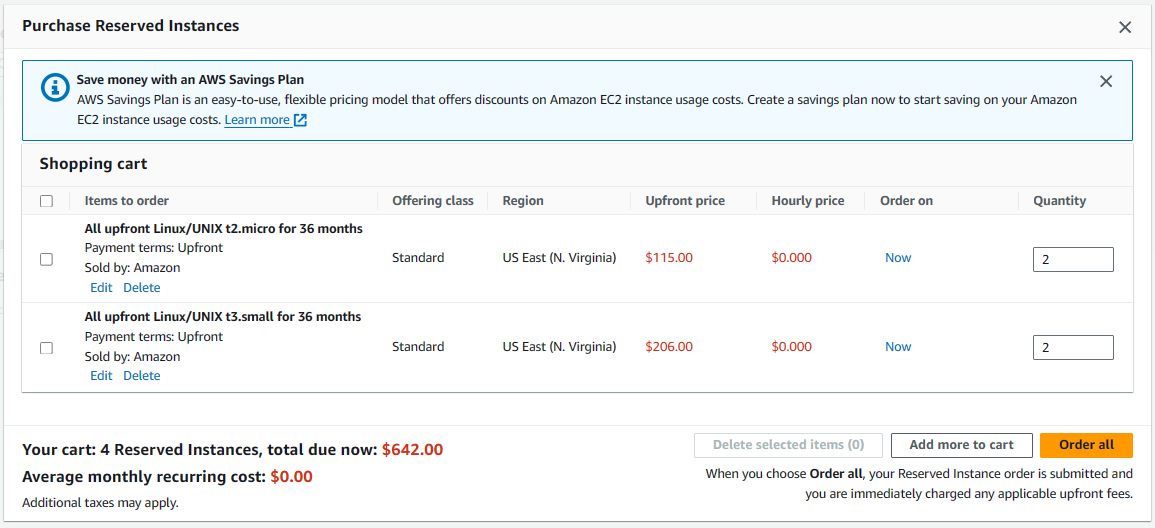
After adding one or more Reserved Instances to your cart, you'll be presented with the up front cost and reoccurring cost. This should be less than what you are currently paying for your on demand EC2 instances.
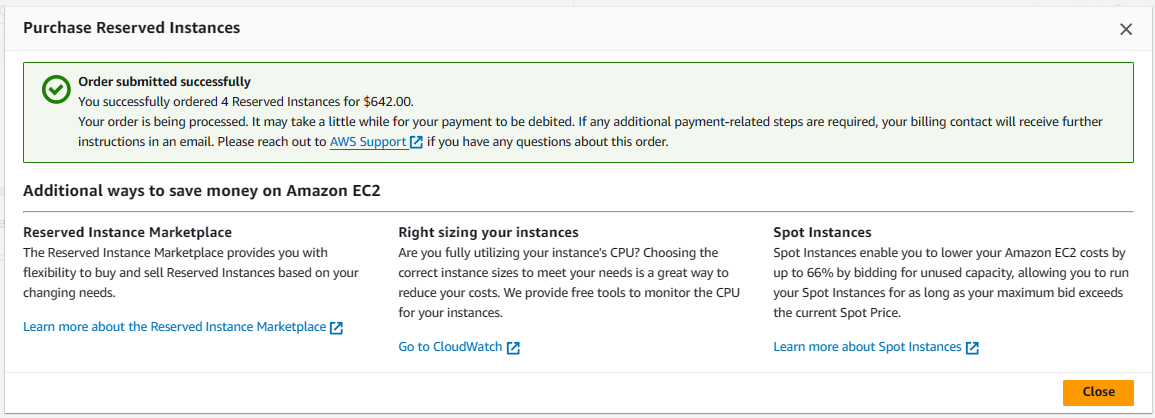
After selecting Order all, you should be presented with a page showing that your order was submitted successfully.
It may take a while for your Reserved Instances to appear. Take it easy - go have a cup of coffee and then check back in an hour or so.

Once they show, just make sure the state is Active.

Then give it another couple days and then scoot on over to Billing and Cost Management > Reservations > Utilization report and you should start to see savings. Nice!

The aws ce get-reservation-utilization command can be used to show if your Reserved Instances are being used, and if so, the cost savings associated with the Reserved Instances.
~]$ aws ce get-reservation-utilization --time-period Start=2024-01-01,End=2024-01-31
{
    "UtilizationsByTime": [
        {
            "TimePeriod": {
                "Start": "2024-01-01",
                "End": "2024-01-31"
            },
            "Total": {
                "UtilizationPercentage": "100",
                "UtilizationPercentageInUnits": "100",
                "PurchasedHours": "92",
                "PurchasedUnits": "69",
                "TotalActualHours": "92",
                "TotalActualUnits": "69",
                "UnusedHours": "0",
                "UnusedUnits": "0",
                "OnDemandCostOfRIHoursUsed": "1.4904",
                "NetRISavings": "0.9287407429",
                "TotalPotentialRISavings": "0.9287407429",
                "AmortizedUpfrontFee": "0.5616592571",
                "AmortizedRecurringFee": "0",
                "TotalAmortizedFee": "0.5616592571",
                "RICostForUnusedHours": "0",
                "RealizedSavings": "0.9287407429",
                "UnrealizedSavings": "0"
            }
        }
    }
}
The aws ce get-cost-and-usage command can be used to return the total cost for a certain AWS service in a certain time frame. In this example, the total cost for my t3.small instances in January of 2024 was a whopping $12.75.
~]$ aws ce get-cost-and-usage --time-period Start=2024-01-01,End=2024-01-31 --granularity MONTHLY --metrics "BlendedCost" "UnblendedCost" "UsageQuantity" --group-by Type=DIMENSION,Key=SERVICE Type=TAG,Key=Environment --filter '{ "Dimensions": { "Key": "INSTANCE_TYPE", "MatchOptions": ["EQUALS"], "Values": ["t3.small"] }}'
{
    "GroupDefinitions": [
        {
            "Type": "DIMENSION",
            "Key": "SERVICE"
        },
        {
            "Type": "TAG",
            "Key": "Environment"
        }
    ],
    "ResultsByTime": [
        {
            "TimePeriod": {
                "Start": "2024-01-01",
                "End": "2024-01-31"
            },
            "Total": {},
            "Groups": [
                {
                    "Keys": [
                        "Amazon Elastic Compute Cloud - Compute",
                        "Environment$"
                    ],
                    "Metrics": {
                        "BlendedCost": {
                            "Amount": "12.7504",
                            "Unit": "USD"
                        },
                        "UnblendedCost": {
                            "Amount": "12.7504",
                            "Unit": "USD"
                        },
                        "UsageQuantity": {
                            "Amount": "613",
                            "Unit": "Hrs"
                        }
                    }
                }
            ],
            "Estimated": false
        }
    ],
    "DimensionValueAttributes": []
}
Be aware that by default, when you order Reserved Instances, the order will be made immediately (now).
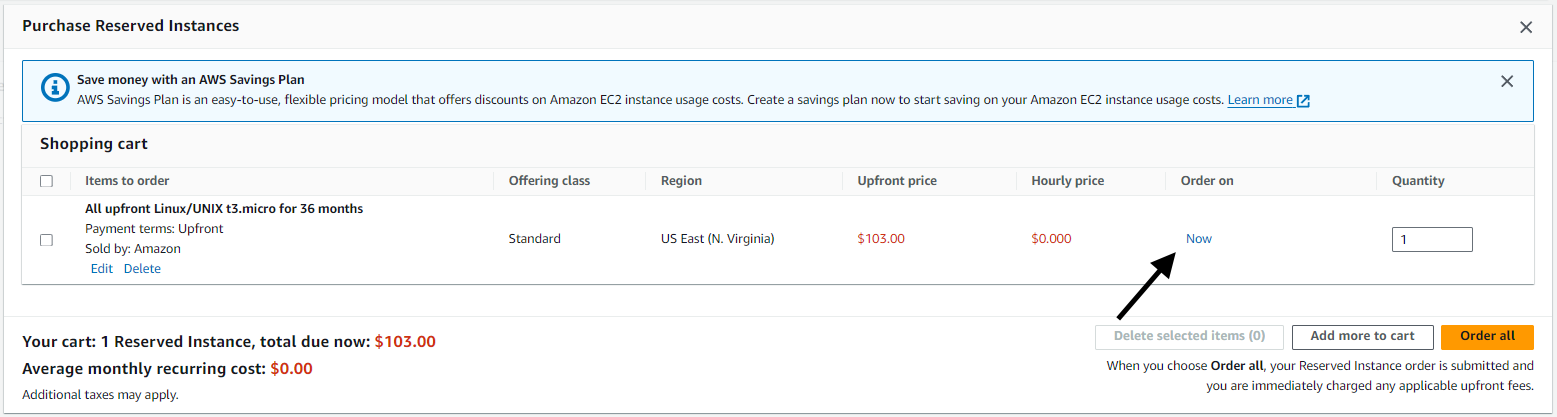
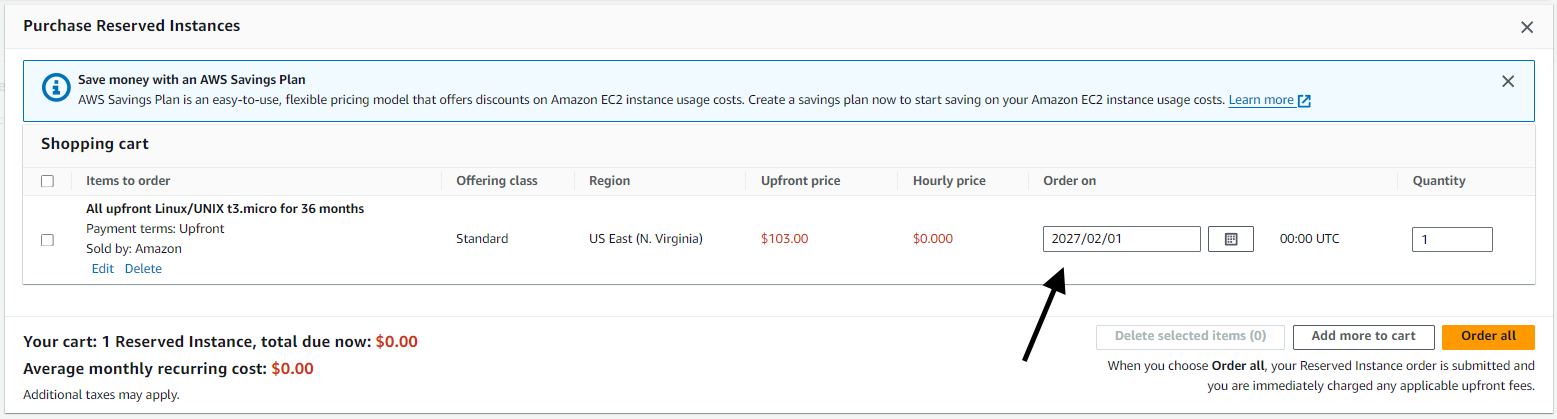
You can change Order on to some future date. This is known as Reserved Instance Queue. This is really helpful because your Reserved Instances will be valid for a period of time, such as 1 year or 3 years. Putting Reserved Instances in Queue can be done so that you don't forget to re-order Reserved Instances once your current Reserved Instances term expires.
Did you find this article helpful?
If so, consider buying me a coffee over at 