SQL Server Management Studio - Export an Excel file

by
Jeremy Canfield |
Updated: March 12 2020
| SQL Server Management Studio articles
Follow these steps to export data from a table in SQL Server Management Studio to an Excel file:
- In the left panel of SQL Server Management Studio, expand Databases
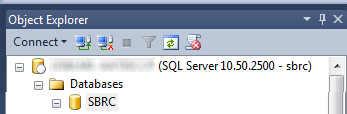
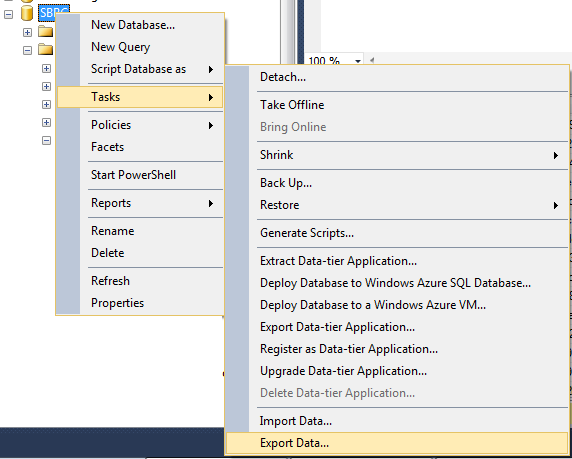
- Right-click the database that contains the table you want to import data into and select Tasks > Export Data
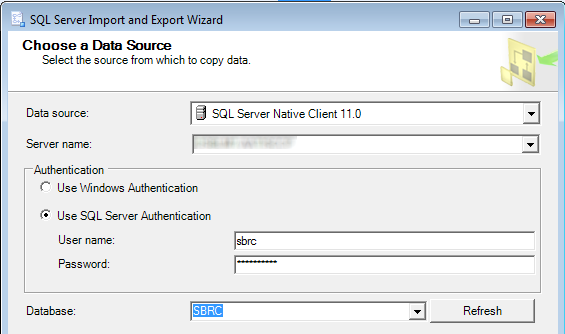
- Do the following in the Choose a Data Source dialog box:
- Change Data source to SQL Server Native Client 11.0
- Select or type your Server name (example: server1\database1)
- Select Use Windows Authentication or Use SQL Server Authentication. If selecting Use SQL Server Authentication, you will need to provide your SQL Server username and password
- Select the database that contains the table you want to export data from
- Select Next
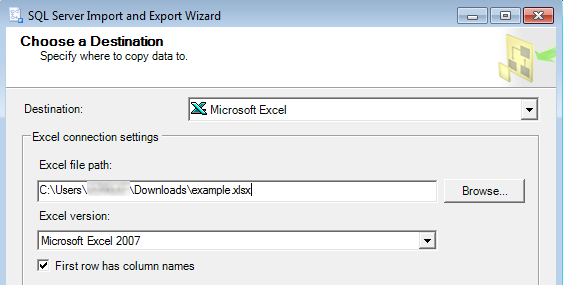
- Do the following in the Choose a Destination dialog box:
- Change Data source to Microsoft Excel
- In the Excel file path field, either type the path or browse to the loction where the Excel file will reside (example: C:\\Users\\User1\\Downloads\\example.xlsx)
- Select Microsoft Excel 2007
- Select Next
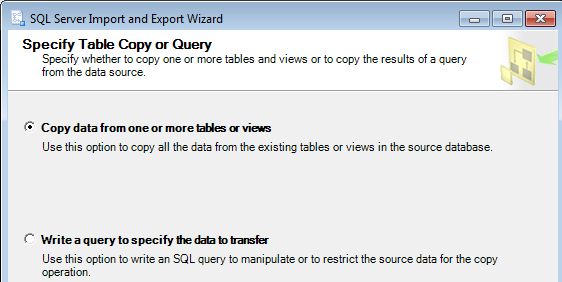
- Select Copy date from one or more tables or views and select Next
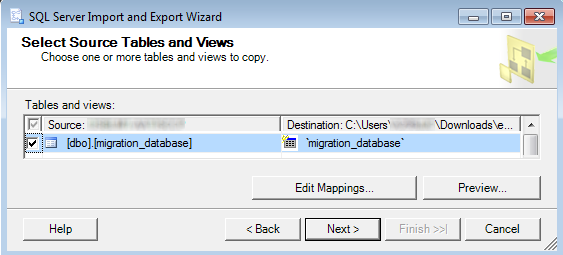
- Do the following in the Select Source Tables and Views dialog box:
- Select the table to export data from
- Select Preview, and verify that the column headers have the expected data in the column
- Select Next
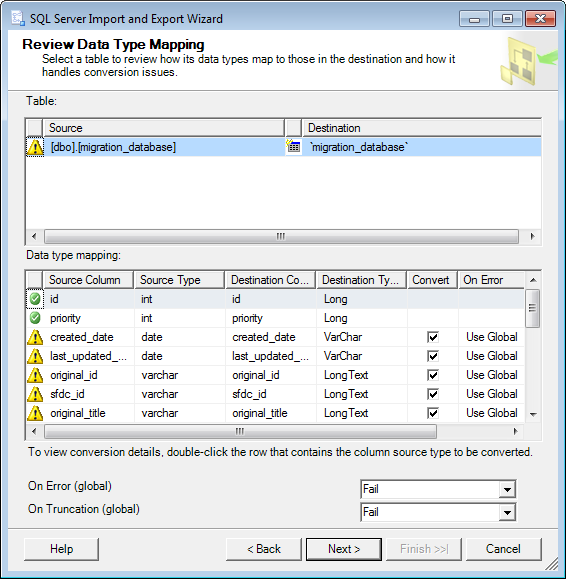
- The Review Data Type Mapping dialog box provides a summary of the mapping of the data from the SQL Server table to Excel. Select Next
| Note: Yellow exclamation points imply a concern with the mapping of the data from SQL Server to Excel. Double-click the yellow exclamation point to view a report of the mapping. The mapping can be modified by selecting Back and then selecting Edit Mapping. |
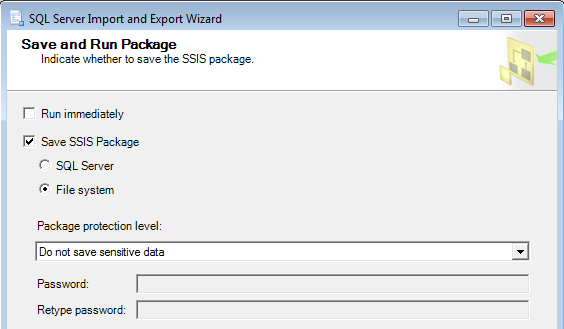
- In the Save and Run Package dialog box, select Run immediately or Save SSIS Package.
| Note: If you are using the Express version of SQL Server, the only option displayed is Run immediately. If you are using a paid version of SQL Server, you can Run immediately or Save SSIS Package. |
- If selecting Run immediately:
- Select Next
- In the Complete the Wizard dialog box, select Finish.
- If selecting Save SSIS Package:
- Select File system
- Select Do not save sensitive data
- Select Next
- Give the SSIS Package a name (example: ExcelExport1)
- Select the directory where you want the SSIS Package to be saved to (example: C:\\Users\\User1\\Downloads\\ExcelExport1.dtsx)
- Select Next
- In the Complete the Wizard dialog box, select Finish.
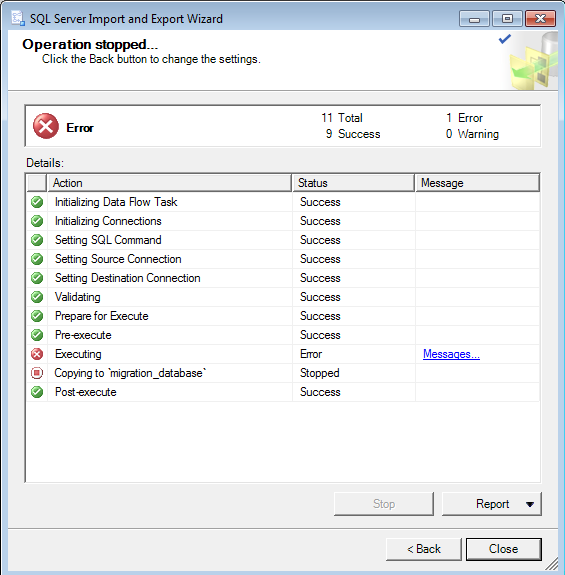
|
Warning! After selecting Finish to run the job, if Operating stopped is displayed and there is an Error, the export failed. In this scenario, select Messages to view detailed information on what caused the export to fail. |
- Select Close to close the Export wizard.
- Navigate to the location where the Excel file was exported to (example: C:\Users\User1\Downloads\example.xlsx) and verify the Excel file exists.
- Open the Excel file, and verify the Excel file has the data from the SQL Server table.
If you created an SSIS Package, follow the instructions in the article on How to run a SQL Server SSIS DTSX package using Windows PowerShell.
Did you find this article helpful?
If so, consider buying me a coffee over at 