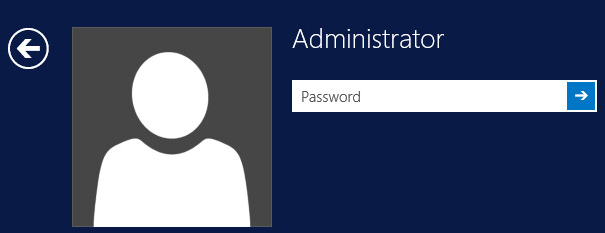
Prior to Active Directory being installed, when signing into the server, only the username is displayed, with no domain name preceding the username.

Install Active Directory Domain Services.
- Select Manage > Add Roles and Features.
- At Before You Begin, select Next.
- At Installation Type, select Role-based or feature-based installation and select Next.
- At Server Selection, highlight the server you want to install Active Directory on and select Next.
- At Server Roles, check Active Directory Domain Services, select Add Features, and select Next.
- At Features, expand Remote Server Administration Tools > Role Administration Tools > AD DS and AD LDS Tools and ensure AD DS Tools is selected.
- Expand AD DS Tools and ensure Active Directory Administrative Center and AD DS Snap-Ins and Command-Line are selected and select Next.
- At AD DS, select Next.
- At Confirmation, select Install.
- After the install has completed, select Close.
Installation successed should be displayed.

Promote the service to be the domain controller.
- In the left pane of Server Manager, select AD DS.
- A yellow warning states Configuration required. Select More.
- Select Promote this server to a domain controller.
- At Deployment Configuration, if this is the first domain controller in a forest, select Add a new forest, enter your root domain name (such as xyz.corp), and select Next.
- At Domain Controller Options, create a DSRM password and select Next.
- At DNS Options select Next.
Note: It is common for "A delegation for this DNS server cannot be created because the authoritative parent zone cannot be found" to be displayed. Ignore this warning for now. DNS will be taken care of later on.
- At NetBIOS domain name, enter the NetBIOS domain name and select Next. Be aware that what you enter as the NetBIOS name will be the shortened name for your domain, and will also precede the username when joining a device to the domain. For example, if your domain name is xyz.com, a great NetBIOS name would be XYZ.
- At Paths, select Next.
- At Review Options, select Next.
- At Prerequisites Check, select Install.
When the installation is completed, the server will be restarted. When signing into the server, the NetBIOS name precedes the username (XYZ in this example).

After a successful install and promotion, configure the Administrator account to never require a password change.
- In Server Manager, select Tools > Active Directory Users and Computers.
- In the left panel of Active Directory Users and Computers, expand xyz.corp and select Users.
- Double-click the Administrator account.
- Select the Account tab.
- Tick Password never expires.
Did you find this article helpful?
If so, consider buying me a coffee over at 