Citrix XenApp - Create StoreFront

by
Jeremy Canfield |
Updated: March 13 2020
| Citrix XenApp articles
To install StoreFront:
- Create a new Virtual Machine.
- In the left panel of Server Manager, select Local Server. If IE Enhanced Security Configuration is On, change the status to Off.
- Run AutoSelect.exe.
- Next to XenApp, select Start.
- Select Citrix StoreFront.
- At Licensing Agreement, select I have ready, understand, and accept the terms of the license agreement and select Next.
- At Core Components, select Next.
- At Firewall, select Automatically and select Next.
- At Summary, select Install.
- At Finish, tick Open the StoreFront Management Console and select Finish.
To deploy a new StoreFront:
- In StoreFront Management Console, select Create a new deployment.
- At Base URL, create a URL for your StoreFront. This will be the URL clients go to to start Citrix Receiver. Select Next.
- At Store Name, give your StoreFront a name, such as MyStoreFront, and select Next.
- At Delivery Controllers, select Add, select Add again, enter the hostname of your Delivery Controller, and select OK. Change the Transport Type to HTTP and select OK. Select Next.
- At Remote Access, tick None and select Create.
- Make note of the URL and select Finish.
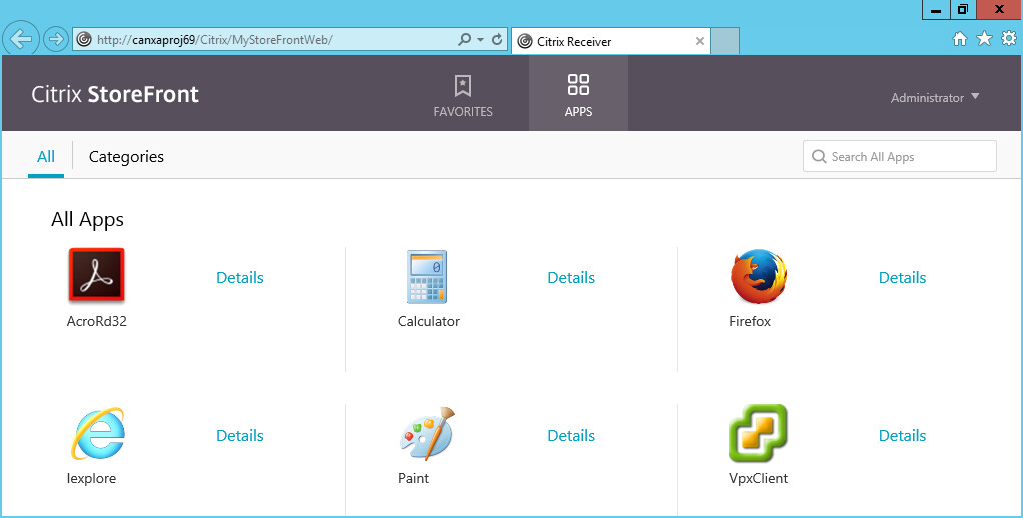
To visit the StoreFront:
- Enter the StoreFront URL in a browser on the Virtual Machine.
- Sign into the StoreFront using the Administrator account.
In this example, a few applications are available in the StoreFront.
Did you find this article helpful?
If so, consider buying me a coffee over at 