
Create the Map Network Drive Group Policy Object (GPO):
- In Server Manager, select Tools > Group Policy Management.
- Right-click on the Group Policy Objects folder and select New.
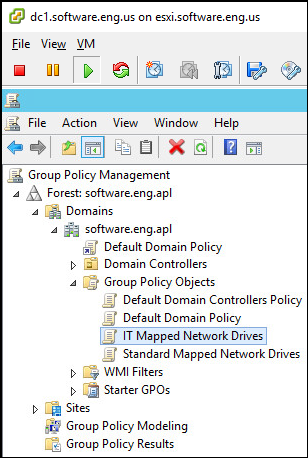
- Give the object a name and select OK.
In this example, the object is named IT Mapped Network Drives.
Edit the Map Drive Drive GPO
- Right-Click on newly create object and select Edit.
- Expand User Configuration > Preferences > Windows Settings and select Drive Maps.
- Right-click in Drive Maps and select New > Mapped Drive.
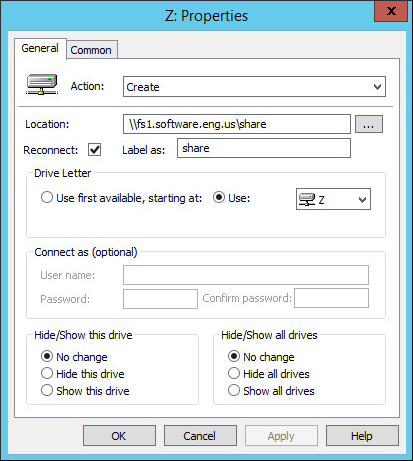
- Complete the New Drive Properties dialog box and select OK.
In this example, the Z: drive maps to \\fs1.software.eng.us\share.

Link the Map Drive Drive GPO to your domain
- Right-click on your domain name and select Link an Existing GPO.
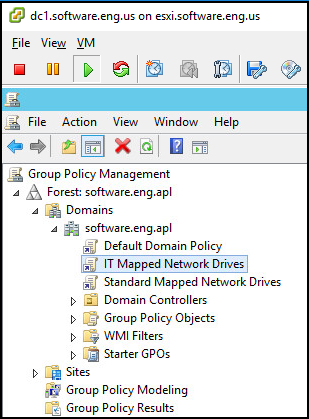
- Select your mapped network drive object and select OK.
In this example, the IT Mapped Network Drives object is linked to the software.eng.apl domain.
Delegation
- In the left panel of Group Policy Management, select the your mapped network drive object.
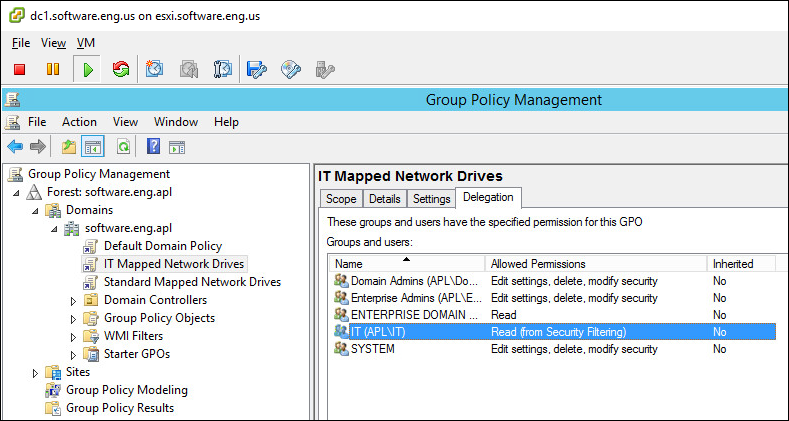
- In the right panel, select the Delgation tab.
- Add or remove users or groups that should have access to the mapped network drives.
In this example, member of the Domain Admins, Enterprise Admins, Enterprise Domain, IT, or System group will have access the the IT Mapped Network Drives.
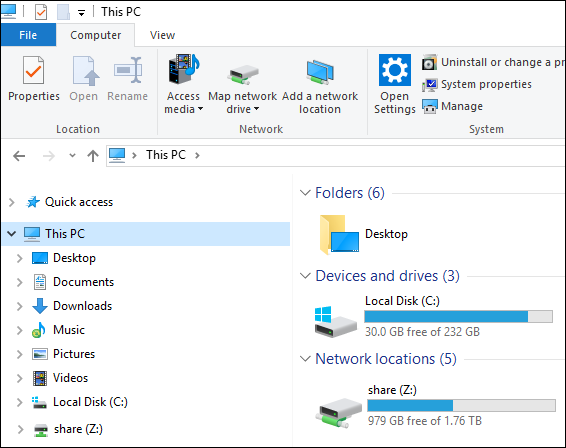
Client side
The mapped network drive should now appear in File Explorer for members of one of the groups under the Delegation tab. In this example, the Z: Drive appears in File Explorer for a member of the IT group.
Did you find this article helpful?
If so, consider buying me a coffee over at 