
If you are not familiar with synchronization, check out our Getting Started article.
With a full synchronization, all file will be synchronized. A full synchronization takes more time than a partial synchronization.
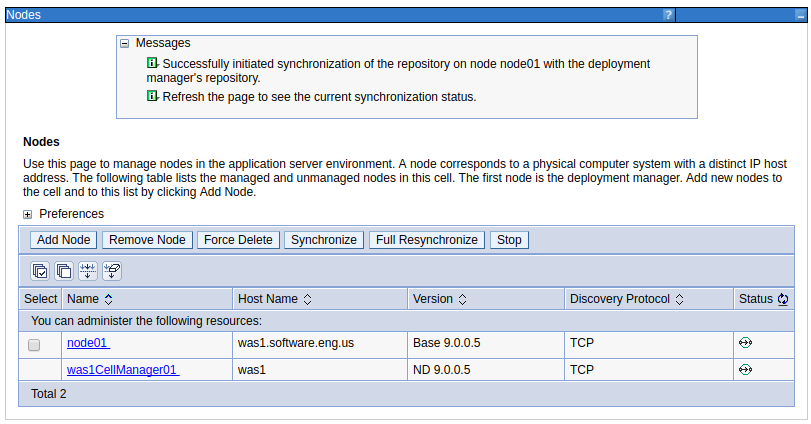
Using the admin console
In the WebSphere admin console, expand System administration.> Nodes. Check the node that you would like to sync, and select Full Resynchronize. After selecting Synchronize, message "successfully initiated synchronization" should be displayed.
Using the syncNode command line script
You will invoke the syncNode script from the server that contains the WAS node that you want to sync to the deployment manager. Only user account that have the Administrator or Configurator role are permitted to run the syncNode command. In this example, "example.com" is the hostname of the deployment manager and 8879 is the SOAP port of the deployment manager.
${WAS_INSTALL_ROOT}/profiles/your_profile/bin/syncNode.sh example.com 8879
If administrative security is enable and your username and password are not defined in the soap.client.props file, there will be a prompt to provide a username and password. Use the username and password of the deployment manager.
Username: deployment_manager_username
Password: deployment_manager_password
There will be another prompt to provide a username and password. Use the username and password for the node.
Username: node_username
Password: node_password
If the sync is sucessful, the following will be displayed.
ADMU0402I: The configuration for node your_node has been synchronized with
           Deployment Manager example.com: 8879
Did you find this article helpful?
If so, consider buying me a coffee over at 