
To install backstage on Linux, let's start by using curl or wget to download and run the bash install.sh script which is used to install the Node.js Version Manager (nvm) CLI.
curl -o- https://raw.githubusercontent.com/nvm-sh/nvm/v0.40.1/install.sh | bash

wget -qO- https://raw.githubusercontent.com/nvm-sh/nvm/v0.40.1/install.sh | bash
This should create a hidden directory named .nvm in our users $HOME directory that will contain Node.js packages, files and directories.
Let's use the chmod command to update the nvm CLI to be executable.
chmod +x ~/.nvm/nvm.sh
source your users hidden .bashrc file so that the nvm CLI is in your users $PATH.
source ~/.bashrc
Let's use the nvm CLI to install Long Term Support (LTS) version 16 or higher of Node.js. This will install Node.js in our hidden .nvm directory. In this example, ltc/iron is Node.js version 20.
nvm install lts/iron
The node CLI should be located at $HOME/.nvm/versions/node/<version>/bin/node.
~]$ which node
~/.nvm/versions/node/v20.18.1/bin/node
Let's enable corepack.
corepack enable
Currently, yarn version 4.4.1 is being used by backstage.
yarn set version 4.4.1
Then create your first backstage app.
npx @backstage/create-app@latest
Let's give our app a name, which will be "backstage" by default.
? Enter a name for the app [required] backstage
If you get message "It's taking a long time to install dependencies" during yarn install, check out my article FreeKB - Backstage - Resolve "It's taking a long time to install dependencies".
Installing dependencies:
  init          git repository ✔
  executing     yarn install ◜
⏱️  It's taking a long time to install dependencies, you may want to exit (Ctrl-C) and run 'yarn install' and 'yarn tsc' manually
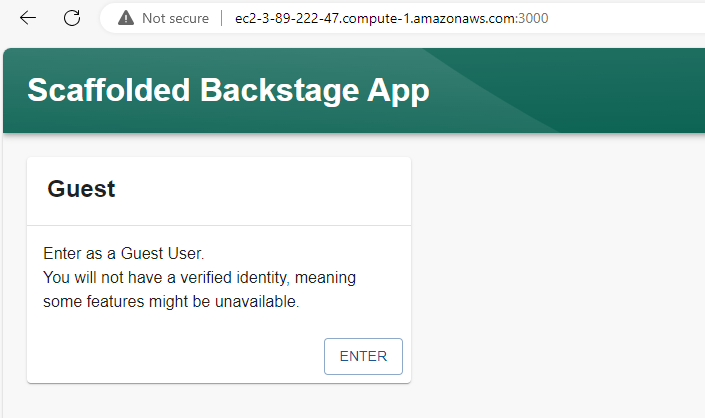
If you are running backstage on a Linux system that doesn't have a graphical interface, then you can update baseUrl in app-config.yaml to have the hostname or IP address of your Linux system.
app:
  title: Scaffolded Backstage App
  baseUrl: http://ec2-3-89-222-47.compute-1.amazonaws.com:3000
There is both a frontend that listens for connections on port 3000 and a backend that listens for connections on port 7007.
If you didn't hit any snags, or were able to get yarn install to complete, let's run the yarn start command to start the frontend
~]$ yarn start
[app]: Loaded config from app-config.yaml
[app]: <i> [webpack-dev-server] Project is running at:
[app]: <i> [webpack-dev-server] Server: http://localhost:3000/
[app]: <i> [webpack-dev-server] On Your Network (IPv4): http://10.11.12.13:3000/
[app]: <i> [webpack-dev-server] Content not from webpack is served from '/home/john.doe/backstage/packages/app/public' directory
[app]: <i> [webpack-dev-server] 404s will fallback to '/index.html'
[app]: webpack compiled successfully
And let's use the yarn start-backend command to start the backend (on port 7007).
yarn start-backend
Or you can run backstage in the background so you can continue to use the console.
yarn start &
yarn start-backend &
netstat can be used to ensure the frontend is listening for connections on port 3000 and the backend is listening for connections on port 7007.
~]# netstat -anop |egrep '3000|7007'
tcp        0      0 0.0.0.0:3000            0.0.0.0:*               LISTEN      5780/node            off (0.00/0/0)
tcp6       0      0 :::7007                 :::*                    LISTEN      6494/node            off (0.00/0/0)
And we should be able to see our backstage app at http://<hostname or IP address>:3000/.
Did you find this article helpful?
If so, consider buying me a coffee over at 