
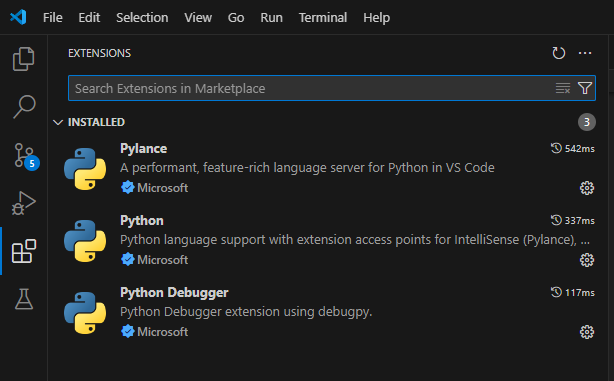
First and foremost, ensure you have the Python Extension installed in VSCode, so that you can run your Flask app using VSCode.
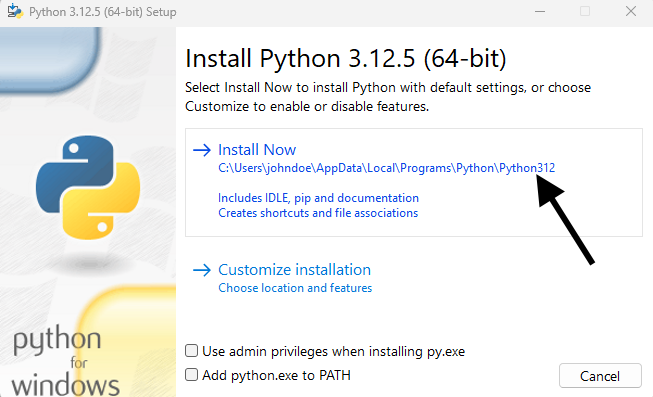
This assumes you have installed Python on your laptop. If your laptop is running Windows, you'll need to install Python on your Windows laptop. For example, let's say Python is installed at C:\Users\johndoe\AppData\Local\Programs\Python\Python312.
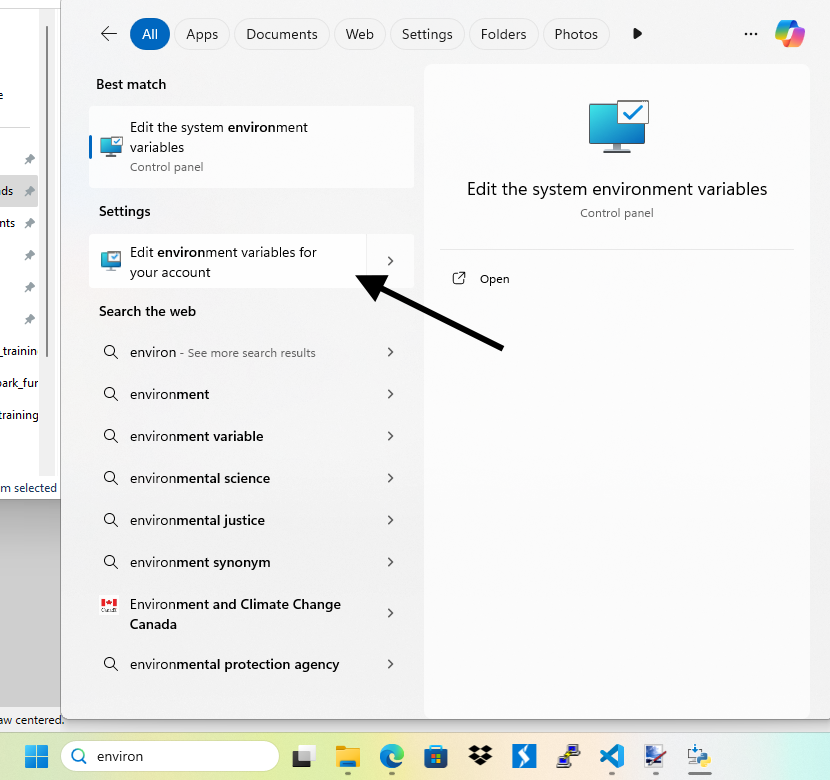
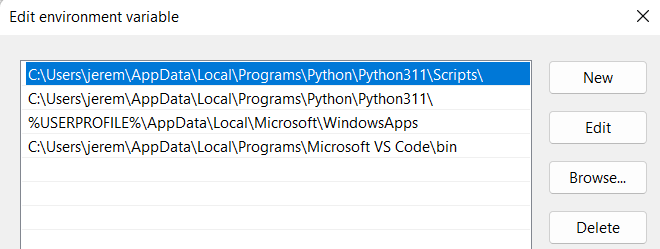
In this scenario, you'll probably want to select Edit environment variables for your account.
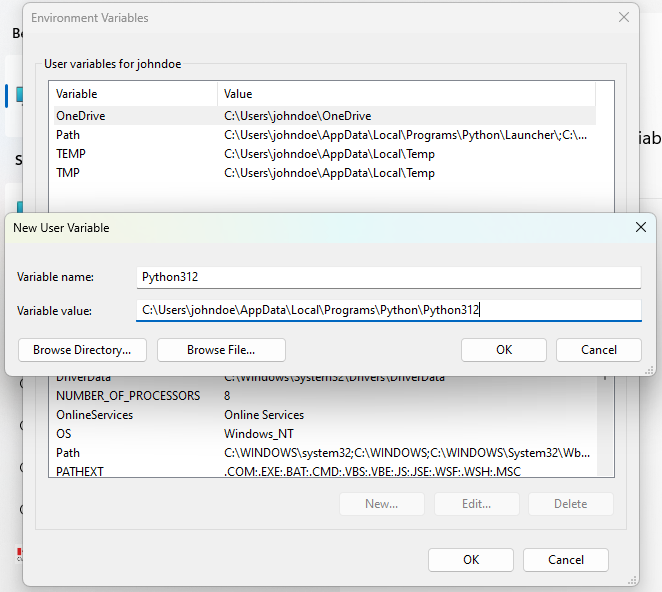
And create a variable that has value C:\Users\johndoe\AppData\Local\Programs\Python\Python312.
In VSCode Terminal, use pip install to install fastapi in Python. If you get "pip is not recognized as the name of a cmdlet, function, script file, or operable program" check out my article on installing pip on Windows.
PS C:\Users\johndoe> pip install fastapi
Just to get started, you can create a single file named main.py that contains the following
from fastapi import FastAPI

app = FastAPI()

@app.get("/")
def home():
    return {"Hello": "World"}
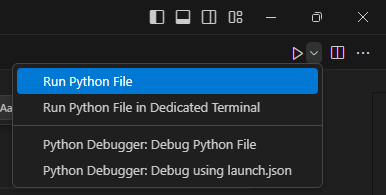
Select main.py, click the Play button and then Run Python File.
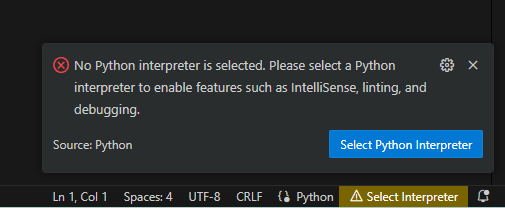
If you get No Python interpreter is selected, you may need to close and re-open VSCode.
To run the FastAPI app in VSCode, we are going to need a service the app can run on. Let's use pip install to install the uvicorn service in Python.
pip install uvicorn
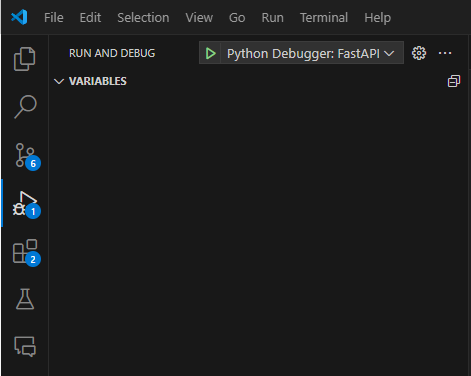
In the left panel of VSCode, let's select the Run and Debug option and select Python Debugger: FastAPI to run main.py on uvicorn.
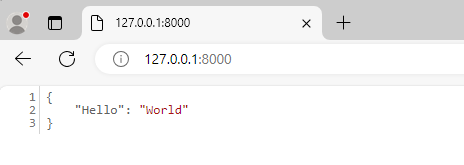
Go to http://127.0.0.1:8000/ and the following should be displayed. It works!
Did you find this article helpful?
If so, consider buying me a coffee over at 