Mule - Twitter Connector

Twitter
by
Jeremy Canfield |
Updated: March 11 2020
| Mule articles
- Join https://dev.twitter.com/ev.twitter.com.
- Create a Twitter app at https://apps.twitter.com.
Create a new project in Mule
- In Mule, select File > New > Mule Project.
- Name the project TwitterConnector and select Finish.
Install the Twitter Connector
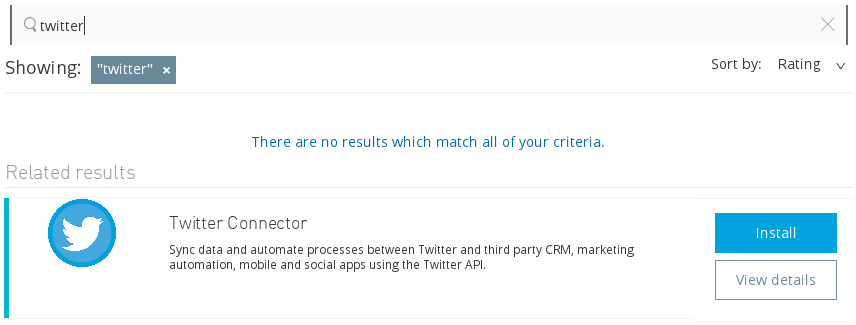
- Near the upper left-hand corner of Mule, select the Open Exchange icon.
- Install the Twitter Connector.
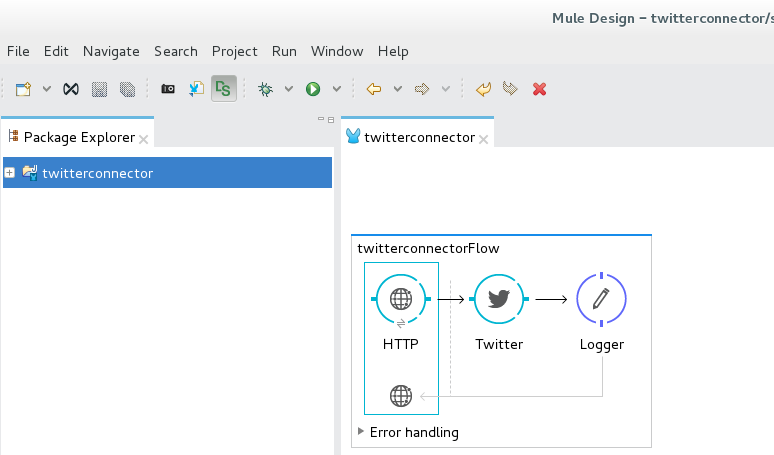
Create the Canvas
- Drag the HTTP connector from the right-panel of Mule to the canvas.
- Connect the Twitter connector to the HTTP connector.
- Connect the Logger connector to the Twitter connector.
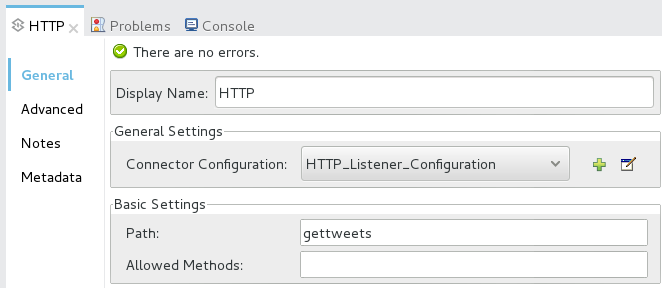
Configure the HTTP connector
- Hightlight the HTTP connector. Under HTTP, click the green plus icon and select OK. Connector Configuration should now display HTTP_Listener_Configuration.
- Select Path to gettweets.
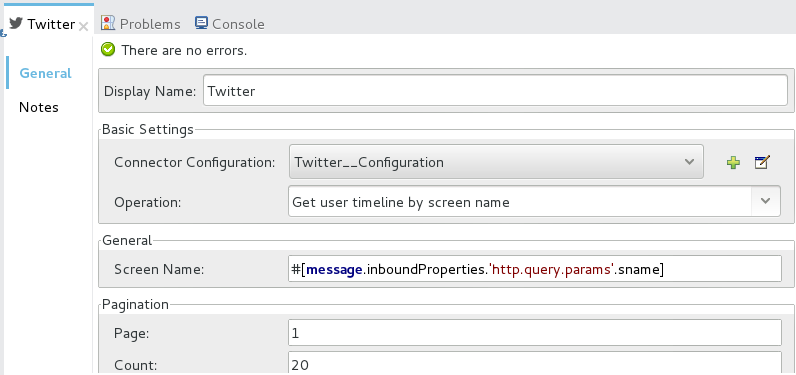
Configure the Twitter connector
- Hightlight the Twitter connector.
- Next to Connector Configuration, select the green plus icon and enter your Twitter Access Key, Access Secret, Consumer Key, and Consumer Secret.
- Select Test Connection to ensure the connection can be established.
- Set Operation to Get user timeline by screen name.
- Set Screen Name to #[message.inboundProperties.'http.query.params'.sname].
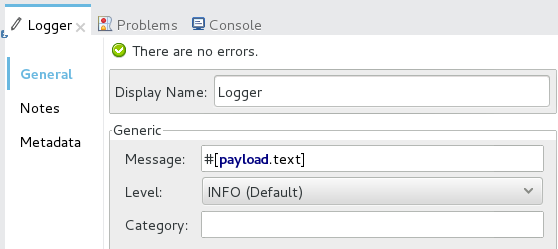
Configure the Logger connector
- Hightlight the Logger connector.
- Set Message to #[payload.text]​.
Run the application
- In the top menu, select Run > Run As > Mule Application and select OK. The Console should display the name of your project and a status of DEPLOYED.
- Navigate to http://localhost:8081/gettweets?sname=john_doe, and John Doe's last 20 tweets should be displayed.
Did you find this article helpful?
If so, consider buying me a coffee over at 