IBM WebSphere - JMS create queue

by
Jeremy Canfield |
Updated: April 20 2022
| IBM WebSphere articles
Before setting up JMS (Java Message Service) components in WebSphere, such as a queue and connection factory, if you are not familiar with how a Java application gets a message from MQ or puts a message to MQ, you may first want to check out our MQ Getting Started article.
This assumes an MQ Server is already setup with a queue manager and local queue. Follow these steps to add the MQ queue in WebSphere.
- In the WebSphere admin console, expand Resources > JMS.
- Select Queues.
- In the scope drop-down selector, select a scope.
- Select New.
- Choose WebSphere MQ Messaging Provider and select OK.
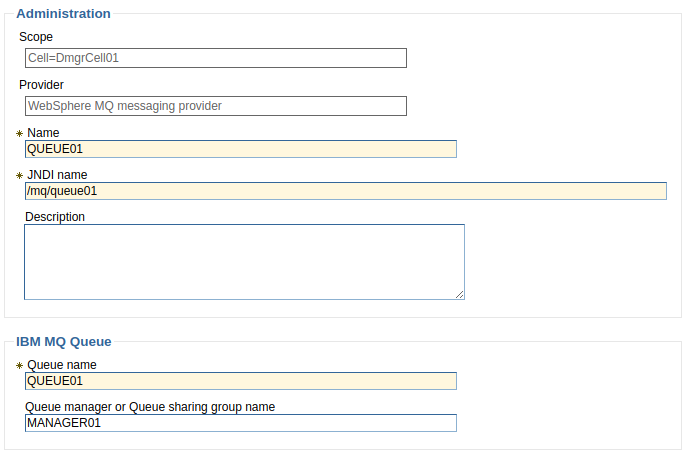
- Enter the queue name, queue JNDI name, and queue MQ name and select Next.
- Select OK.
- Select Save.
In this example, a queue named QUEUE01 was created.
- Select the newly created queue.
- Select IBM MQ Queue Connection Properties.
- Provide the hostname, port, channel, username and password used to connect to the queue. The runmqsc command can be used to ensure the channel exists, to determine the port the channel is listening on, and to ensure the user has access to the channel (check the MCAUSER option).
- Select OK.

Note that the queue will be written to the ${WAS_INSTALL_ROOT}/profiles/your_profile/config/cells/your_cell/nodes/your_node/resources.xml file.
Did you find this article helpful?
If so, consider buying me a coffee over at 