
This assume you've already enable the WebSphere SAML Service Provider (SP). The following procedure will setup the SAML Service Provider (SP) with metadata from an Identity Provider (IdP). If you do not have a SAML IdP that can provide metadata, you'll want to setup an IdP, such as Shibboleth IdP.
Using wsadmin, add the Identity Provider metadata. This example assumes that the metadata file (idp-metadata.xml) is on the WebSphere server. Notice also in this example that the certificate alias is "shibboleth-idp". You can use any alias you want, as this is going to create a new certificate.
AdminTask.importSAMLIdpMetadata('-idpMetadataFileName /opt/shibboleth-idp/metadata/idp-metadata.xml -idpId 1 -ssoId 1 -signingCertAlias shibboleth-idp')
u'true'
wsadmin>AdminConfig.save()
u''
wsadmin>quit
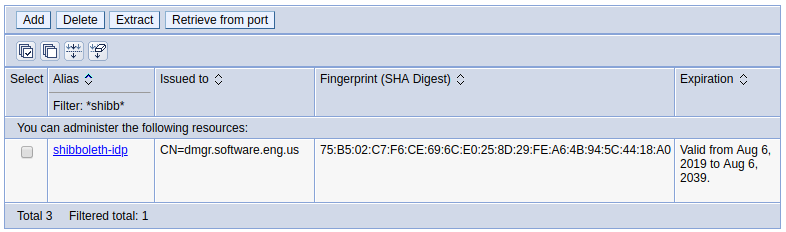
After issuing these wsadmin commands, at Security > SSL certificate and key management > Key stores and certificates > CellDefaultTrustStore > Signer certificate, there should be a new certificate (shibboleth-idp in this example).
Did you find this article helpful?
If so, consider buying me a coffee over at 