
By default, a Security > Global Security, WebSphere uses Lightweight Third Party Authentication (LTPA) for SSO.
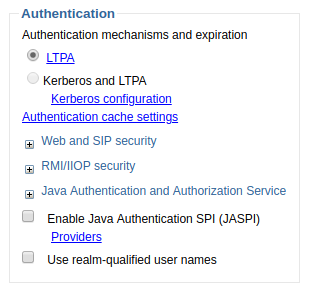
You can instead configure WebSphere to use SAML for SSO. If you are not familiar with SAML, check out our article on understanding SAML and SSO.
It is important to recognize that the following procedure will setup the SAML Service Provider (SP). After the SP is setup, you will then need to configure the SP with metadata from an Identity Provider (IdP). If you do not have a SAML IdP that can provide metadata, before setting up the SP, you'll want to setup some IdP, such as Shibboleth IdP.
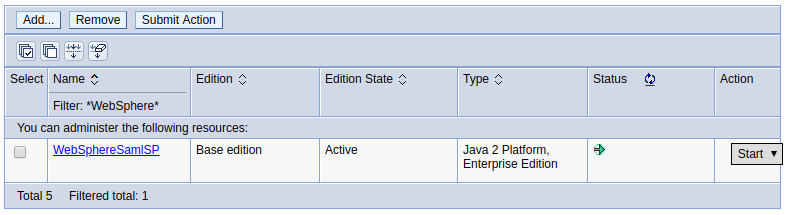
To configure your WebSphere server to use SAML, you will deploy the ${WAS_INSTALL_ROOT}/installableApps/WebSphereSamlSP.ear to an application server or cluster in your cell. Once deployed, the WebSphereSamlSP application should be listed at Applications > All applications.
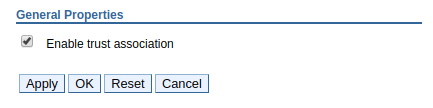
Then, navigate to Security > Global security > Web and SIP security > Trust association, check Enable trust association and select OK and Save.
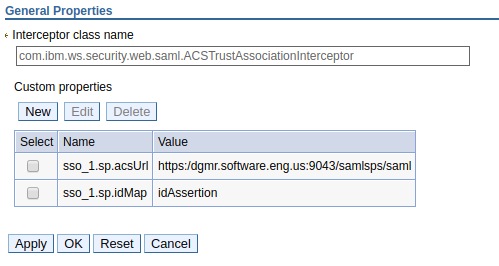
Navigate to Security > Global security > Web and SIP security > Trust association > Interceptors, select New, and create the following entry.
- Interceptor class name =
com.ibm.ws.security.web.saml.ACSTrustAssociationInterceptor - Name =
sso_1.sp.acsUrl - Value = https://<hostname>:<https port>/samlsps/<something unique>
- Name =
sso_1.sp.idMap - Value =
idAssertion.
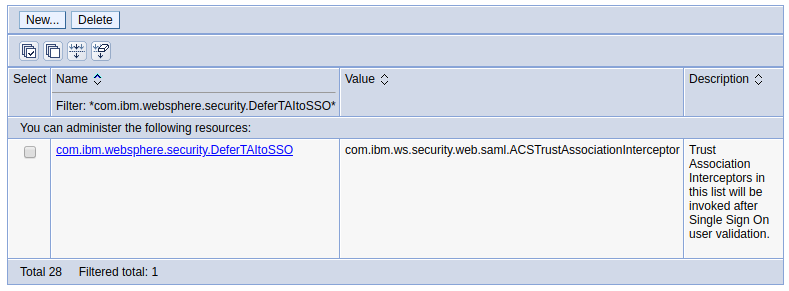
Navigate to Security > Global security > Custom properties. Locate the entry named com.ibm.websphere.security.DeferTAItoSSO and update the value to be com.ibm.ws.security.web.saml.ACSTrustAssociationInterceptor. Don't worry that there is already a different value associated with this entry. The old value is no longer used.
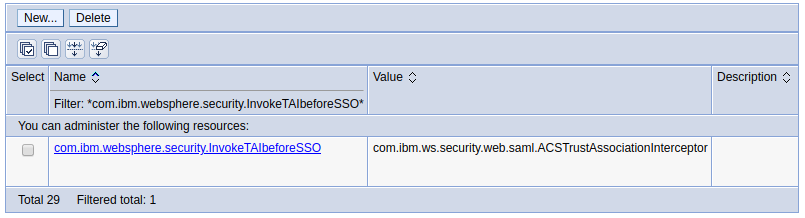
Navigate to Security > Global security > Custom properties > New. Create the following key:value pair.
Name = com.ibm.websphere.security.InvokeTAIbeforeSSO- Value =
com.ibm.ws.security.web.saml.ACSTrustAssociationInterceptor
Using wsadmin, you should now be able to export the Service Provider metadata to an XML file.
AdminTask.exportSAMLSpMetadata('-spMetadataFileName /tmp/metadata.xml -ssoId 1')
metadata.xml is going to contain XML like this.
<?xml version="1.0" encoding="UTF-8" standalone="yes"?>
<ns7:EntityDescriptor xmlns="http://www.w3.org/2005/08/addressing" xmlns:ns2="http://docs.oasis-open.org/wsfed/federation/200706" xmlns:ns3="http://docs.oasis-open.org/wsfed/authorization/200706" xmlns:ns4="http://www.w3.org/2001/04/xmlenc#" xmlns:ns5="http://www.w3.org/2000/09/xmldsig#" xmlns:ns6="http://docs.oasis-open.org/wss/2004/01/oasis-200401-wss-wssecurity-utility-1.0.xsd" xmlns:ns7="urn:oasis:names:tc:SAML:2.0:metadata" xmlns:ns8="urn:oasis:names:tc:SAML:2.0:assertion" xmlns:ns9="http://docs.oasis-open.org/ws-sx/ws-securitypolicy/200702" entityID="https://example.com:9043/samlsps/saml">
    <ns7:SPSSODescriptor AuthnRequestsSigned="true" WantAssertionsSigned="true" protocolSupportEnumeration="urn:oasis:names:tc:SAML:2.0:protocol">
        <ns7:AssertionConsumerService index="0" Binding="urn:oasis:names:tc:SAML:2.0:bindings:HTTP-POST" Location="https://example.com:9043/samlsps/saml"/>
    </ns7:SPSSODescriptor>
</ns7:EntityDescriptor>
Did you find this article helpful?
If so, consider buying me a coffee over at 