
This assumes you have installed Docker on Linux and Docker is running.
The docker network create command can be used to create a dedicated, isolated overlay network for RabbitMQ. In this example, the name of the network is rabbitmq-network.
docker network create --driver overlay rabbitmq-network
The following command can be used to pull down the RabbitMQ image and create and start the RabbitMQ container.
- docker run - create the container if it doesn't exist and to start the container
- --detach - run the container in the background
- --name - name the container rabbitmq1
- --publish 5672:5672 - listen on port 5672 for AMQ connections
- --publish 15672:15672 - listen on port 15672 for HTTP connections
- --network - use the rabbitmq-network
- --hostname - give the container hostname rabbit1
- --ip - assign an IP address to the container
- --add-host - append other container hostname and IP address to /etc/hosts
- --env - define the Erlang cookie. Or, the --volume option could be used to mount the .erlang.cookie file on your Docker system (e.g. --volume /usr/local/rabbitmq/.erlang.cookie:/var/lib/rabbitmq/.erlang.cookie). In this scenario, the .erlang.cookie file must have 0400 permissions.
- --restart unless-stopped - container is started if the Docker server is restarted
- The rabbitmq:management image is used
docker run
--detach
--name rabbitmq1
--publish 5672:5672
--publish 15672:15672
--hostname rabbit1
--network rabbitmq-network
--ip 172.22.0.2
--add-host rabbit2:172.22.0.3
--env RABBITMQ_ERLANG_COOKIE="itsasecret"
--restart unless-stopped
rabbitmq:management
The docker images command should include the rabbitmq image.
~]# docker images
REPOSITORY  TAG         IMAGE ID      CREATED       SIZE
rabbitmq    management  105b54dc64f1  32 hours ago  253 MB
And the docker container ls command should show the container is up and running.
~]# docker container ls
CONTAINER ID     IMAGE                COMMAND                 CREATED         STATUS     PORTS     NAMES
d937372c09ab9    rabbitmq:management  "/docker-entrypoin..."  6 minutes ago   Created              rabbitmq
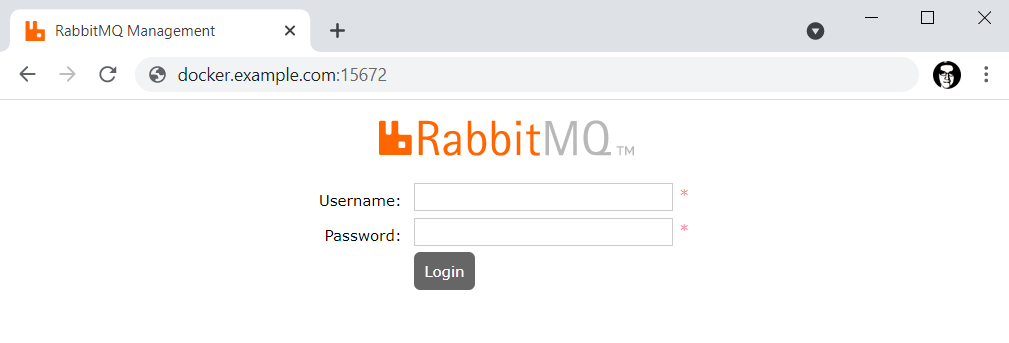
And you should be able to access the RabbitMQ management console at http://<hostname or IP address of your Docker server>:15672. The default username and password is guest and guest. You will most likely want to create a new user with the administrator tag, grant the user access to all virtual hosts, and then delete the guest account.
Create another RabbitMQ container. If this container will be running on the same Docker system as the other RabbitMQ container, then different ports will need to be assigned to this container, such as 5673 (not 5672) and 15673 (not 15672). Additonally, the --ip and --add-hosts values are flipped.
docker run
--detach
--name rabbitmq2
--hostname rabbit2
--publish 5673:5672
--publish 15673:15672
--network rabbitmq-network
--ip 172.22.0.3
--add-host rabbit1:172.22.0.2
--env RABBITMQ_ERLANG_COOKIE="itsasecret"
--restart unless-stopped
rabbitmq:management
If this container will be running on a different Docker system, then the default ports can be used.
docker run
--detach
--name rabbitmq2
--hostname rabbit2
--publish 5672:5672
--publish 15672:15672
--network rabbitmq-network
--ip 172.22.0.3
--add-host rabbit1:172.22.0.2
--env RABBITMQ_ERLANG_COOKIE="itsasecret"
--restart unless-stopped
rabbitmq:management
Now the docker container ls command should show that both containers are up and running.
~]# docker container ls
CONTAINER ID     IMAGE                    COMMAND                 CREATED         STATUS     PORTS     NAMES
d937372c09ab9    rabbitmq:3.9-management  "/docker-entrypoin..."  6 minutes ago   Created              rabbitmq1
c74462886bcc4    rabbitmq:3.9-management  "/docker-entrypoin..."  6 minutes ago   Created              rabbitmq2
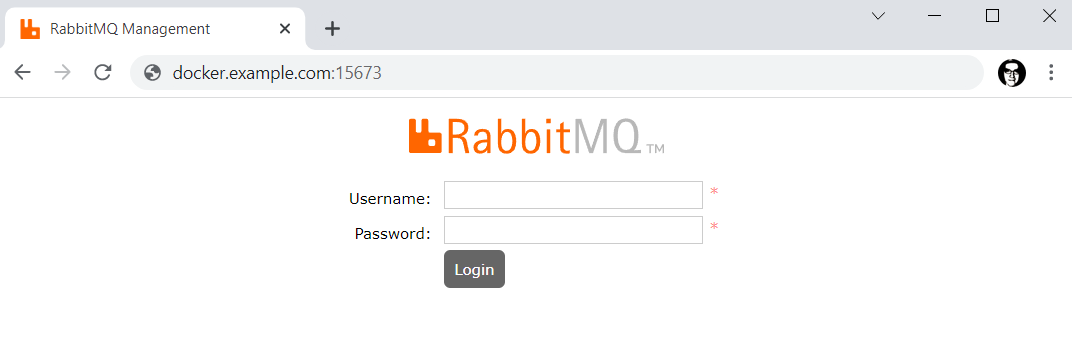
And you should be able to access the RabbitMQ management console at http://<hostname or IP address of your Docker server>:15672 or 15673.
On the "1" container (the primary node), use the rabbitmqctl stop_app, rabbitmqctl reset and rabbitmqctl start_app commands to stop, reset and start RabbitMQ.
IMPORTANT
Be aware that reset will remove all resources and data on the node.
docker exec rabbitmq1 rabbitmqctl stop_app
docker exec rabbitmq1 rabbitmqctl reset
docker exec rabbitmq1 rabbitmqctl start_app
On the "2" container (the secondary node), use the same commands, with the addition of the rabbitmqctl join_cluster command.
docker exec rabbitmq2 rabbitmqctl stop_app
docker exec rabbitmq2 rabbitmqctl reset
docker exec rabbitmq2 rabbitmqctl join_cluster rabbit@rabbit1
docker exec rabbitmq2 rabbitmqctl start_app
The rabbitmqctl cluster_status command should show both nodes.
~]# docker exec rabbitmq1 rabbitmqctl cluster_status
Running Nodes

rabbit@rabbit1
rabbit@rabbit2
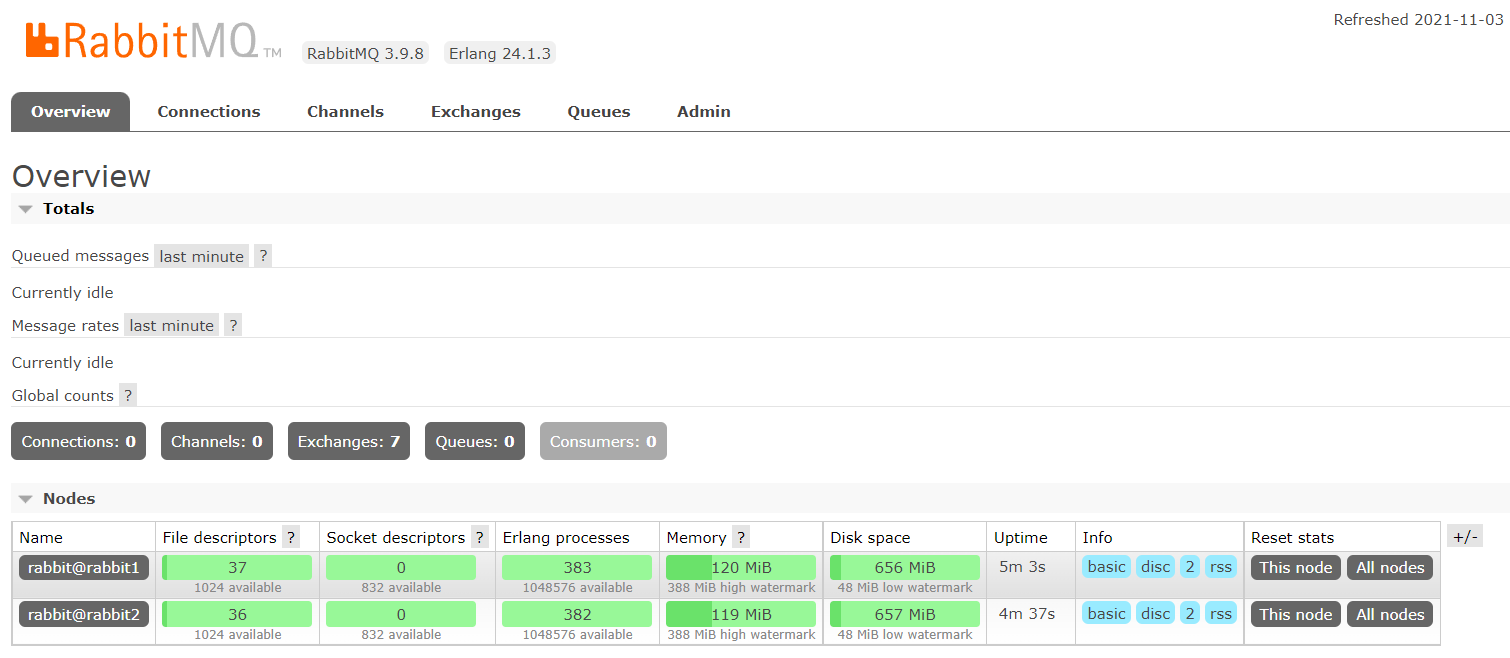
In either of the RabbitMQ management consoles, you should see both nodes.
Did you find this article helpful?
If so, consider buying me a coffee over at 