
If your website is an Internet facing production site, you will need a certificate purchased from a trusted certificate authority (CA), such as www.verisign.com.
If your website will be used in a non-production setting, there are two options:
- Use the IIS Express Development Certificate that ships with IIS
- Create your own self-signed certificate
Self-signed certificate
There are many ways to create your own self-signed certificate:
- Click here to create a public / private key pair using Kleopatra on Windows
- Click here to create a public / private key pair using OpenSSL on Linux
- Click here to create a public / private key pair using OpenSSL on Windows
- Click here to create a public / private key pair using PuTTY on Windows
- Click here to create a public / private key pair using ssh-keygen on Linux
- Click here to create a public / private key pair using GPG on Linux
- Click here to create a public / private key pair using Crypto-Utils on Linux
Add certificate to IIS
If you will be using a certificate from a trusted certificate authority or a self-signed certificate, you will need to add the certificate to IIS. The certificate must be a Personal Information Exchange (PFX) file.
- In the left panel of IIS, select the root of your server.
- In the middle panel, select Server Certificates.
- In the right panel, select Import.
Configure IIS to use a public certificate
- In the left-panel of IIS, right-click on the website you want to configure to use HTTPS and select Edit Bindings.
- In the Site Bindings dialog box, select Add.
- Make the following selections:
- Type = https
- IP address = select appropriate
- Port = 443
- Host name = URL of your website
- SSL certificate = Click the Select button and select the public certificate you would like to use.
- Select OK.
- Click Close to close the Site Bindings dialog box.
- In the left-panel of IIS, right-click on the website and select Refresh.
You can now navigate to your website using HTTPS. If you are using the certificate that ships with IIS, or your own self-signed certificate, the web browser will complain that the site is not secure. Since you know the website is actually safe, you can proceed to the site.
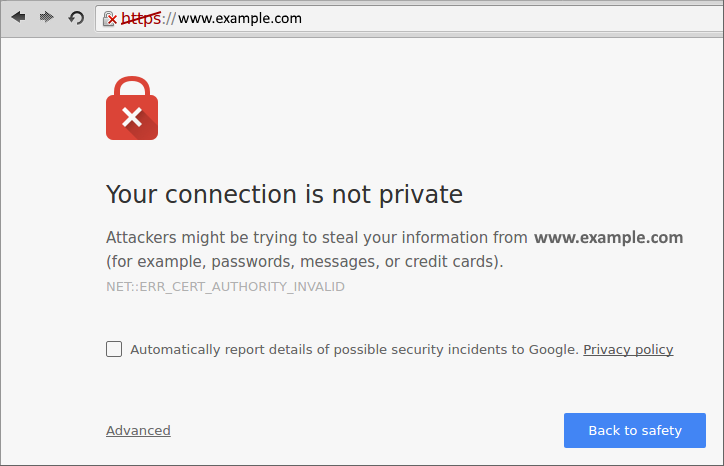
The web browser is stating that the site is not secure because the certificate is not trusted. Te certificate is not trusted because web browsers only trust certificates issued by a reputable certificate authority (CA), such as www.verisign.com.
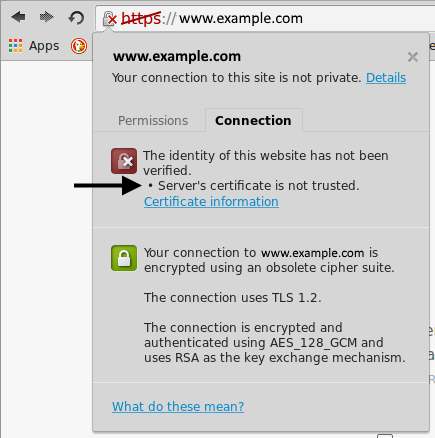
After configuring Chrome to trust a self-signed certificate, Chrome will no longer state that the Server's certificate is not trusted. However, Chrome may still strike out HTTPS, and state that the site uses a weak security configuration (SHA-1 signatures). To remedy this issue, ensure your self-signed certificate is signed with SHA-2 or above.

To force HTTP to redirect to HTTPS:
- In IIS, select your website and then select SSL Settings.
- Check Require SSL and Ignore and select Apply.
Note: Navigating to your webiste should now produce "403 Forbidden: Access is Denied"

- In IIS, select your website and then select Error Pages.
- Select Add.
- In the Add Custom Error Page pop-up box:
- Status code = 403.4
- Check Respond with a 302 redirect
- File path = https://www.example.com (replace www.example.com with the actual URL you want to redirect to)
- Select OK. 403.4 should now be listed on the Error Pages.

- In the left-panel of IIS, right-click on the website and select Refresh.
Did you find this article helpful?
If so, consider buying me a coffee over at 