Java - Install WindowBuilder GUI in Eclipse

by
Jeremy Canfield |
Updated: March 23 2022
| Java articles
Install Swing and SWT WindowBuilder
- In the top panel of Eclipse, select Help > Install New Software.
- In the Work with drop down, select http://download.eclipse.org/release/*.
- Expand General Purpose Tools and check the following items:
- Swing Designer
- Swing Designer Documentation
- SWT Designer
- SWT Designer Core
- SWT Designer Documentation
- SWT Designer SWT_AWT Support
- SWT Designer XWT Support (requires Eclipse WTP/WST)
- TM Terminal via Remote API Connector Extensions
- TM Terminal View Remote System Explorer add-in
- Vagrant Tooling
- WindowBuilder Core
- WindowBuilder Core Documentation
- WindowBuilder Core UI
- WindowBuilder GroupLayout Support
- WindowBuilder Java Core
- WindowBuilder XML Core (requires Eclipse WTP/WST)
- Select Next.

- At Install Details, select Next.
- At Review Licenses, select I accept the terms of the license agreement and select Finish.
Create a new Swing project
- Select File > New > Other > Java Project.
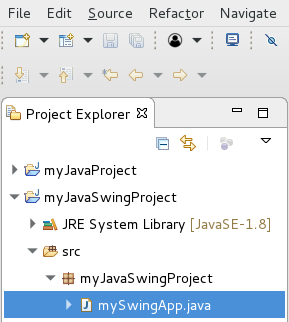
- Name the project myJavaSwingProject and select Finish.
- In the left panel of Eclipse, right-click on the src folder and select
- Select New > Other.
- Expand WindowsBuilder, expand Swing Designer, select Application Window, and select Next.

- Give your project a name, such as mySwingApp, and select Finish. mySwingApp.java should now appear in the left panel of Eclipse.
- Select the Design tab, and the Swing WindowBuilder should be displayed.
- Click the green play button, and an empty Java GUI Window should be displayed.

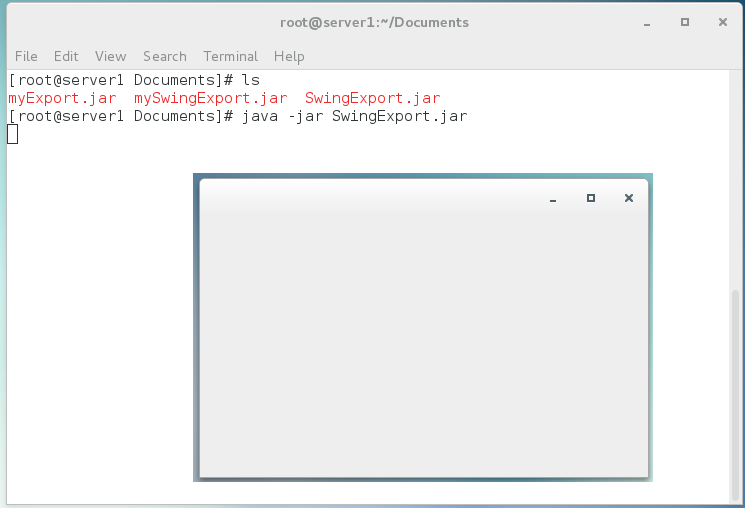
You can also export the project to a jar file, and the run the jar, and the empty GUI window should be displayed. In this example, the jar file is run from a Linux command line, and the empty GUI is displayed.
Did you find this article helpful?
If so, consider buying me a coffee over at 