
If you have not installed IBM Installation Manager, install IBM Installation Manager.
There are multiple ways to install WebSphere Network Deployment Manager:
- GUI
- Command Line - from IBM HTTP repository
- Command Line - from local repository
- Command Line - Response file
A network deployment manager allows you to control certain things on remote application servers. For example, you can start or stop the application server, start or stop an application, and deploy a new application to the application server. For this reason, if you have not yet set up one or more application servers, you should first install an application server.
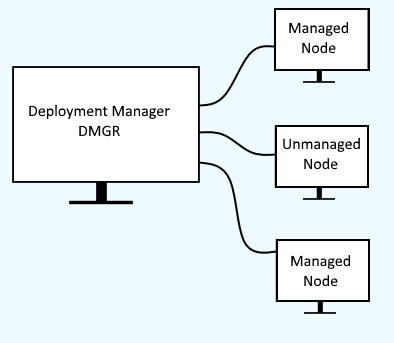
Download the Network Deployment Manager from https://www.ibm.com/developerworks/downloads/ws/wasnetwork/index.html.
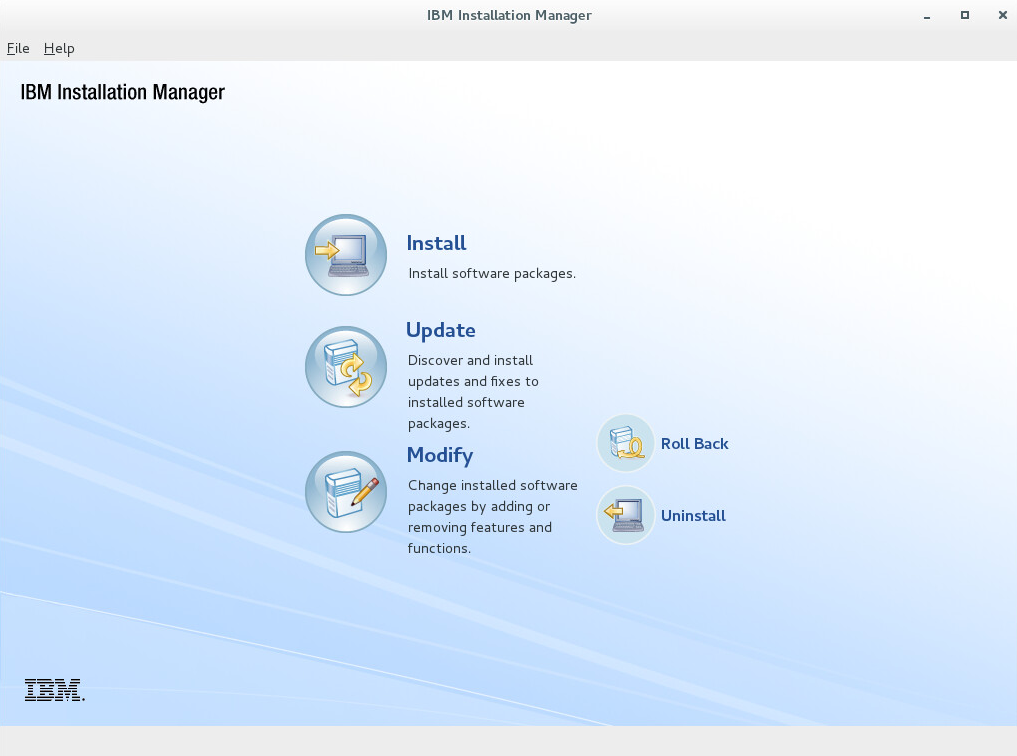
Enter the following command to launch IBM Installation Manager.
~]# /opt/IBM/InstallationManager/eclipse/launcher
Select Install.
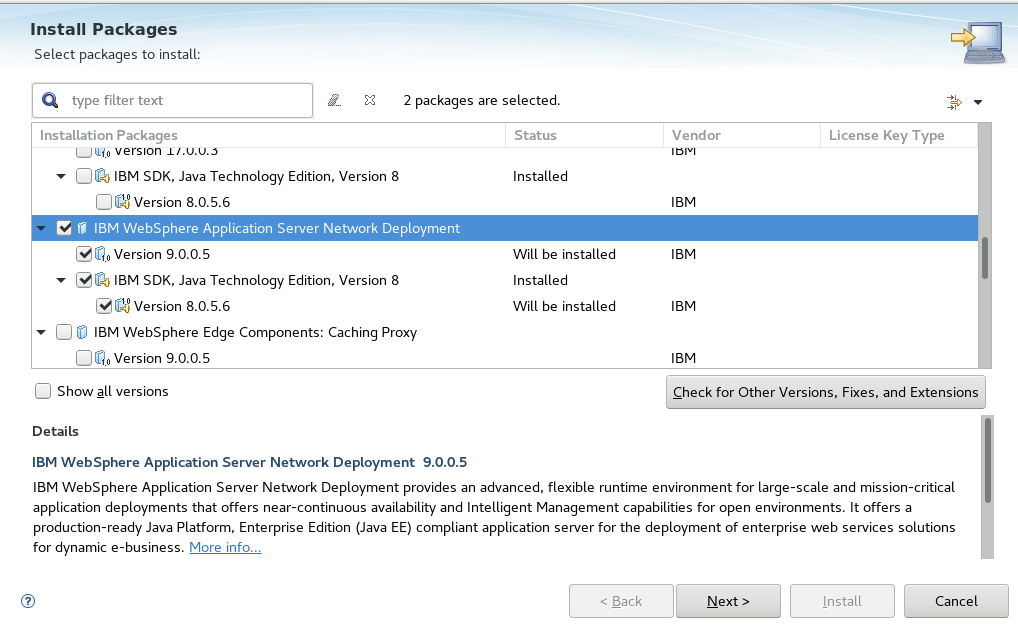
Check IBM WebSphere Application Server Network Deployment and select Next.
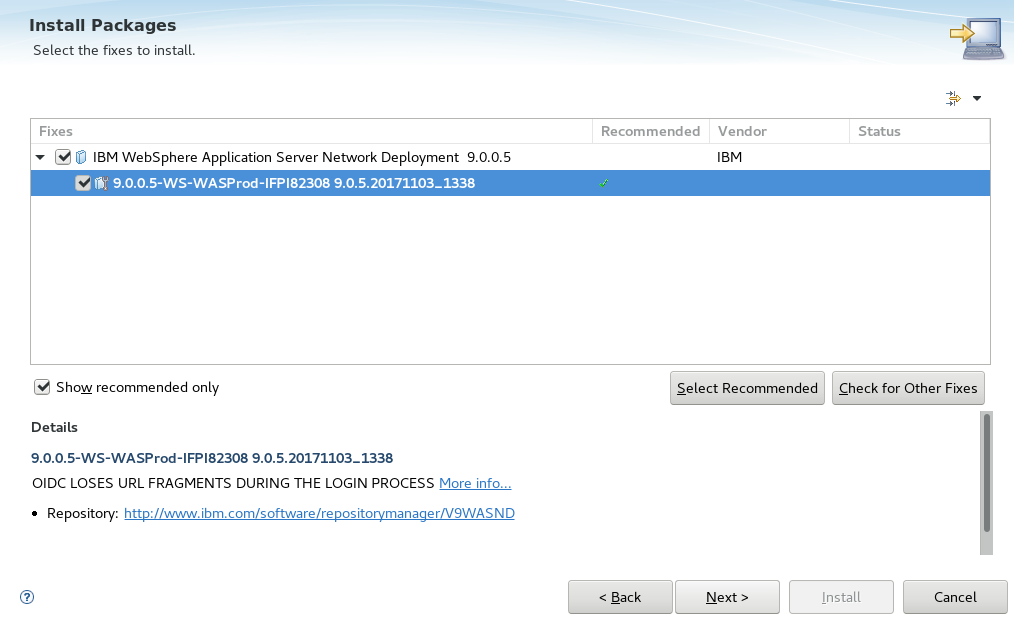
Select the packages you want to install and select Next.
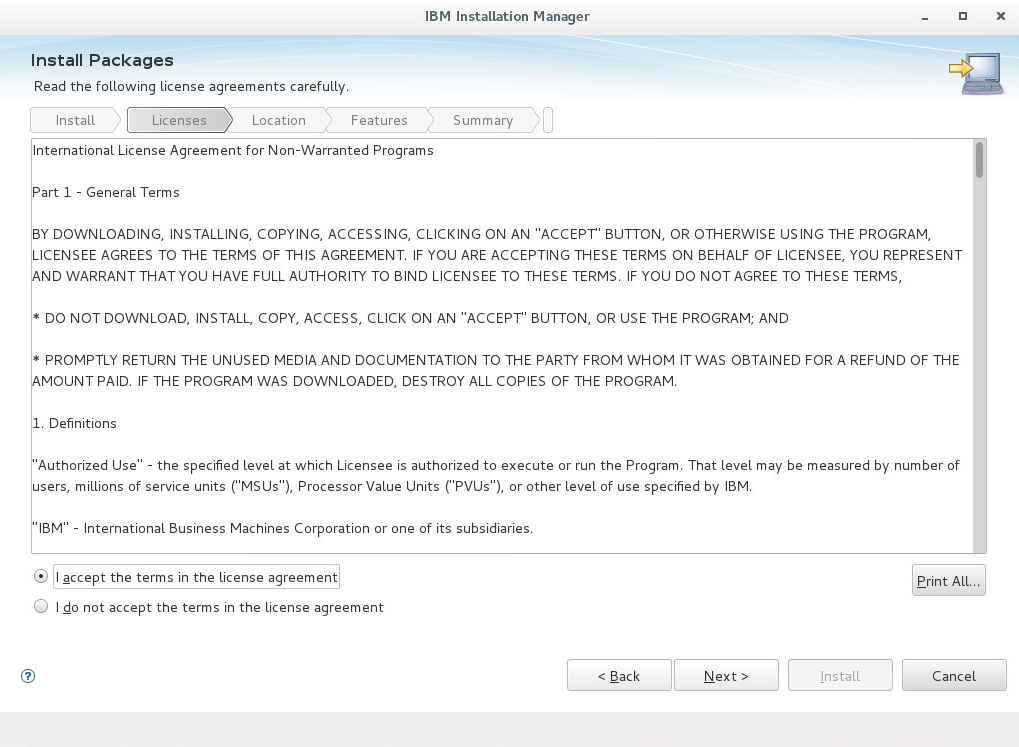
Check I accept the terms in the license agreement and select Next.
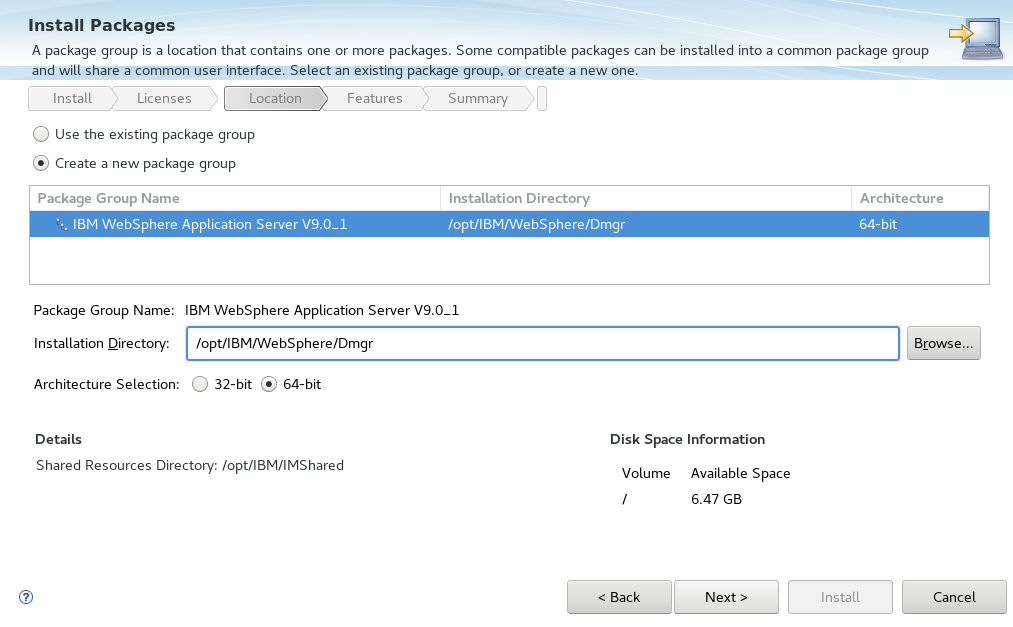
Enter the Installation Directory and select Next.
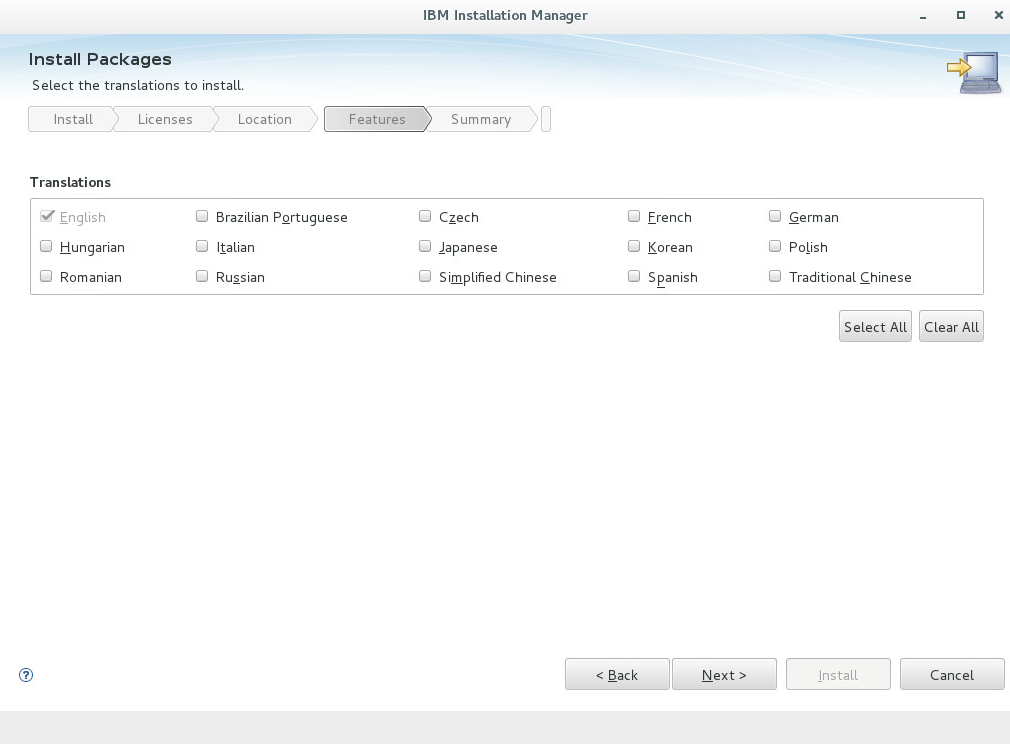
Select Next.
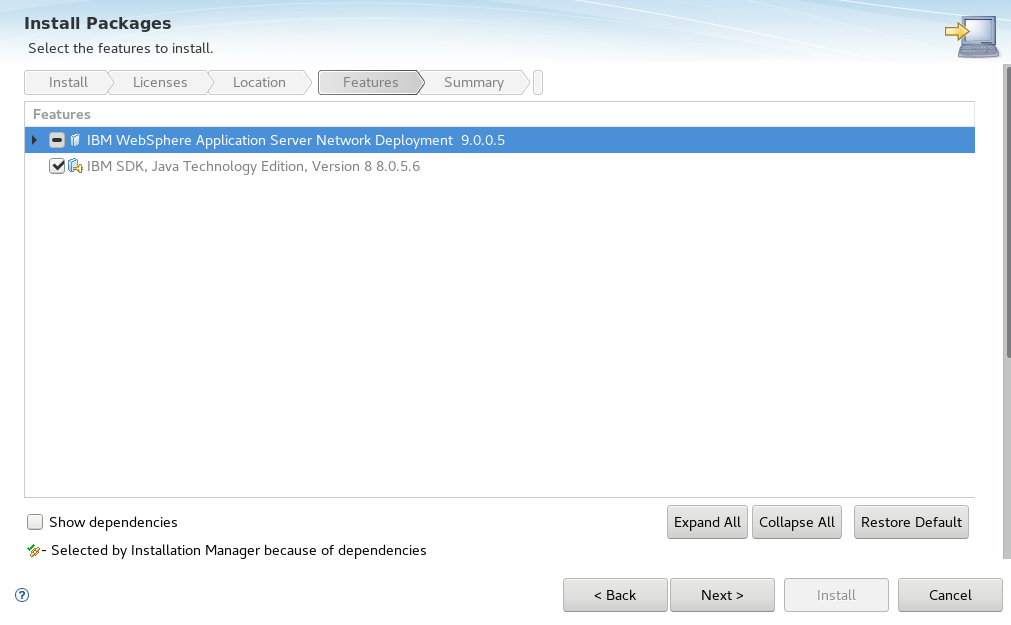
Select Next.
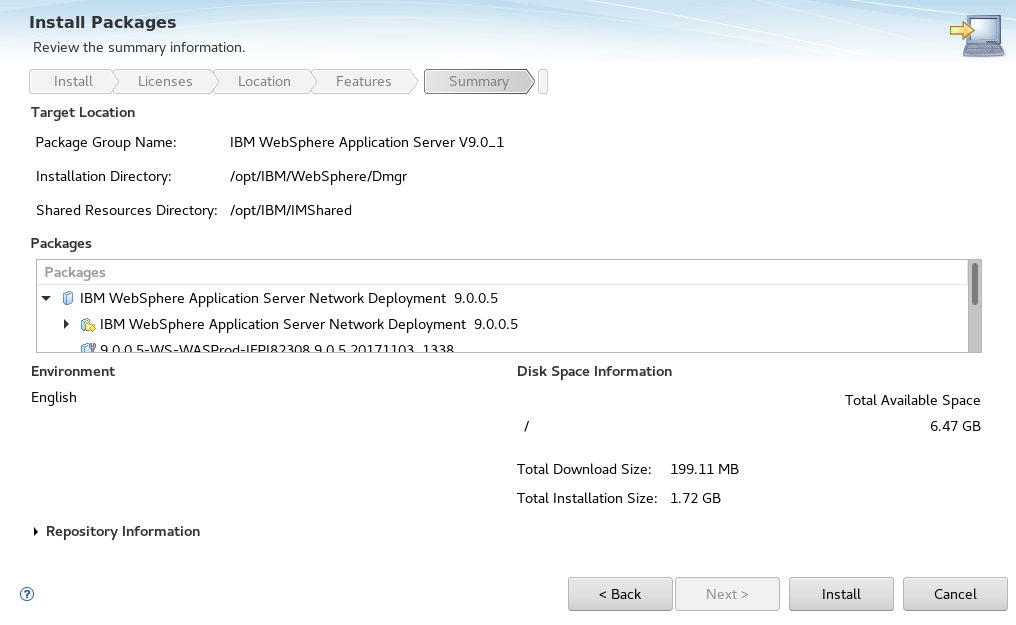
Select Install.
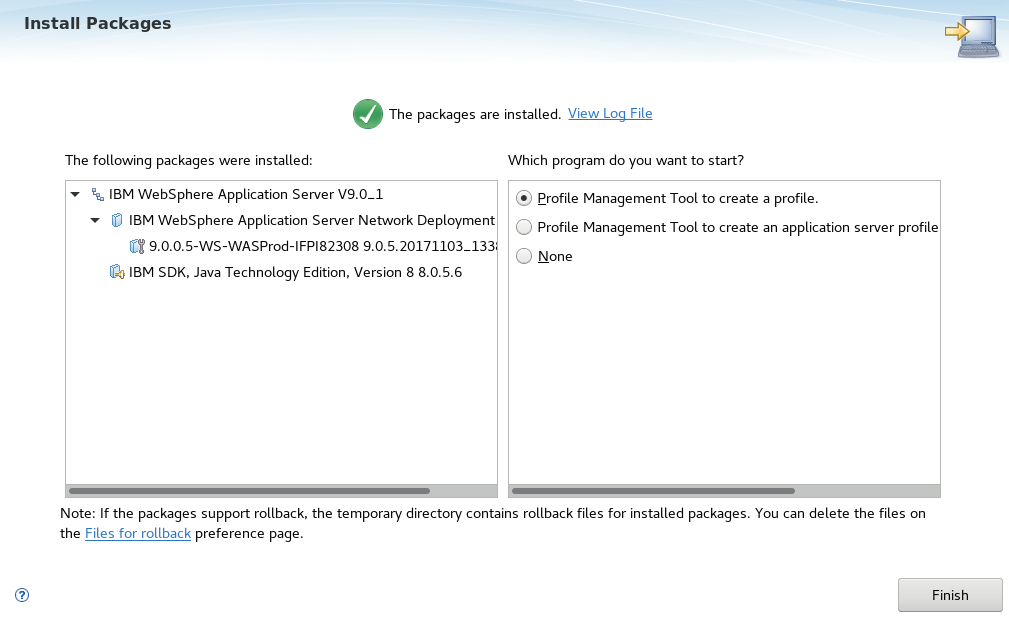
After installation, ensure Profile Management Tool to create profile is selected and click Finish. Then, create a new profile.
The version info command can be used to verify that the network deployment manager was successfully installed. "ND" is the abbreivation for Network Deployment.
~]# /opt/IBM/WebSphere/Dmgr/bin/versionInfo.sh
. . .
Installed Product
---------------------------------------------------------------------
Name              IBM WebSphere Application Server Network Deployment
Version           9.0.0.5
ID                ND
. . .
Did you find this article helpful?
If so, consider buying me a coffee over at 