
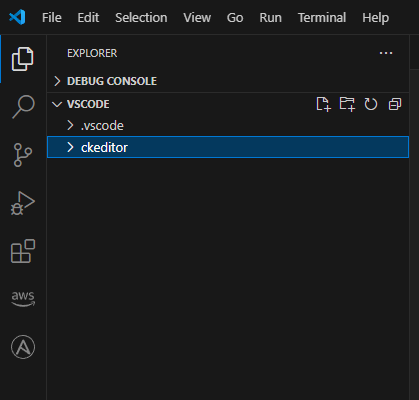
For the sake of this tutorial, I am using VSCode. In VSCode, I create an empty directory named ckeditor.
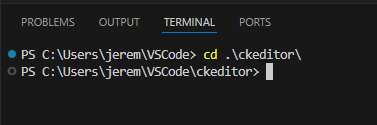
And in the VSCode Terminal, I move into the empty ckeditor directory that I just created.
I am on a Windows laptop and I have already installed the npm (NodeJS Package Manager) CLI on my Windows laptop. Check out my article Install NodeJS on Windows from zip.
Let's create a file named webpack.config.js with the following markup.
'use strict';

const path = require( 'path' );
const { styles } = require( '@ckeditor/ckeditor5-dev-utils' );

module.exports = {
    // https://webpack.js.org/configuration/entry-context/
    entry: './app.js',

    // https://webpack.js.org/configuration/output/
    output: {
        path: path.resolve( __dirname, 'dist' ),
        filename: 'bundle.js'
    },

    module: {
        rules: [
            {
                test: /ckeditor5-[^/\\]+[/\\]theme[/\\]icons[/\\][^/\\]+\.svg$/,

                use: [ 'raw-loader' ]
            },
            {
                test: /ckeditor5-[^/\\]+[/\\]theme[/\\].+\.css$/,

                use: [
                    {
                        loader: 'style-loader',
                        options: {
                            injectType: 'singletonStyleTag',
                            attributes: {
                                'data-cke': true
                            }
                        }
                    },
                    'css-loader',
                    {
                        loader: 'postcss-loader',
                        options: {
                            postcssOptions: styles.getPostCssConfig( {
                                themeImporter: {
                                    themePath: require.resolve( '@ckeditor/ckeditor5-theme-lark' )
                                },
                                minify: true
                            } )
                        }
                    }
                ]
            }
        ]
    },

    // Useful for debugging.
    devtool: 'source-map',

    // By default webpack logs warnings if the bundle is bigger than 200kb.
    performance: { hints: false }
};
Let's create a file named app.js with the following markup.
import { ClassicEditor } from '@ckeditor/ckeditor5-editor-classic';
import { Essentials } from '@ckeditor/ckeditor5-essentials';
import { Paragraph } from '@ckeditor/ckeditor5-paragraph';
import { Bold, Italic } from '@ckeditor/ckeditor5-basic-styles';

ClassicEditor
    .create( document.querySelector( '#editor' ), {
        plugins: [ Essentials, Paragraph, Bold, Italic ],
        toolbar: [ 'bold', 'italic' ]
    } )
    .then( editor => {
        console.log( 'Editor was initialized', editor );
    } )
    .catch( error => {
        console.error( error.stack );
    } );
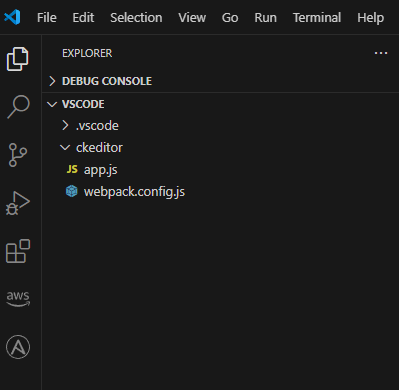
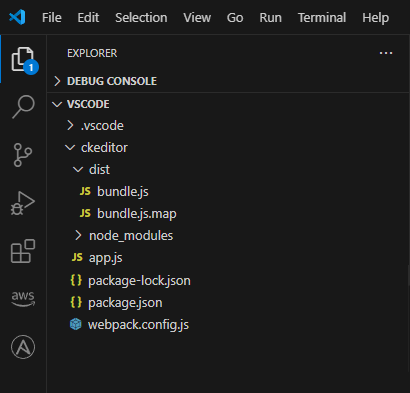
At this point, our ckeditor directory should only have the 2 files we just created.
Let's use the npm install command to install the packages needed to build the classic CKEditor.
npm install --save \
    css-loader@5 \
    postcss-loader@4 \
    raw-loader@4 \
    style-loader@2 \
    webpack@5 \
    webpack-cli@4
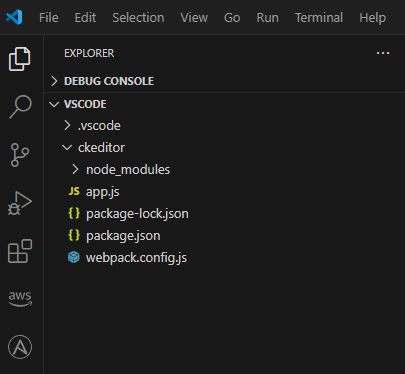
The npm install command will create the package.json and package-lock.json files as well as the node_modules directory, and the node_modules directory should contain a slew of files and directories.
Let's use the npm install command to install the packages needed by webpack for the classic CKEditor.
npm install --save \
    @ckeditor/ckeditor5-dev-utils \
    @ckeditor/ckeditor5-editor-classic \
    @ckeditor/ckeditor5-essentials \
    @ckeditor/ckeditor5-paragraph \
    @ckeditor/ckeditor5-basic-styles \
    @ckeditor/ckeditor5-theme-lark
Let's use the webpack CLI to build the editor.
.\node_modules\.bin\webpack --mode development
There should now be a directory named dist that contains 2 files, bundle.js and bundle.js.map.
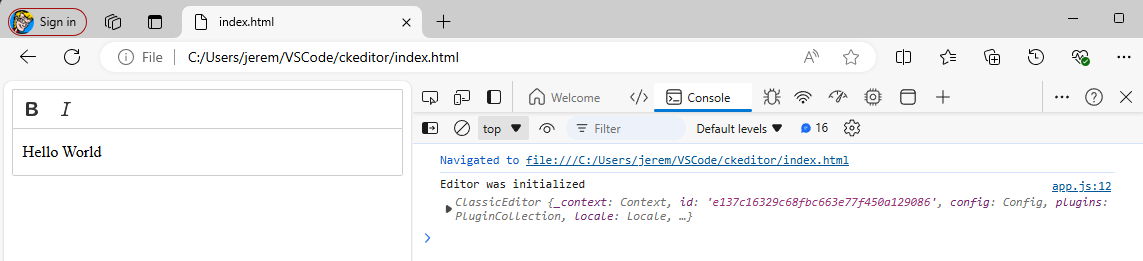
And let's create index.html in the same directory as app.js with the following HTML.
<div id="editor"></div>
<script src="dist/bundle.js"></script>
Since this was created on your Windows laptop you should now be able to pull up the index.html page in one of your web browsers and the super basic CKEditor should be displayed. Nice! Your web browsers developer tools (F12) should have Editor was initialized.
Did you find this article helpful?
If so, consider buying me a coffee over at 