
There are various ways to deploy an application to a WebSphere Application Server (JVM).
- IBM WebSphere - Deploy application using WebSphere admin console (this article)
- IBM WebSphere - Deploy application using monitoredDeployableApps directory (properties file)
- IBM WebSphere - Deploy application using monitoredDeployableApps directory (EAR WAR JAR SAR)
- IBM WebSphere - Deploy application using Apache Ant (ws_ant)
In the WebSphere admin console, expand Applications and select New Application. Select New Enterprise Application.
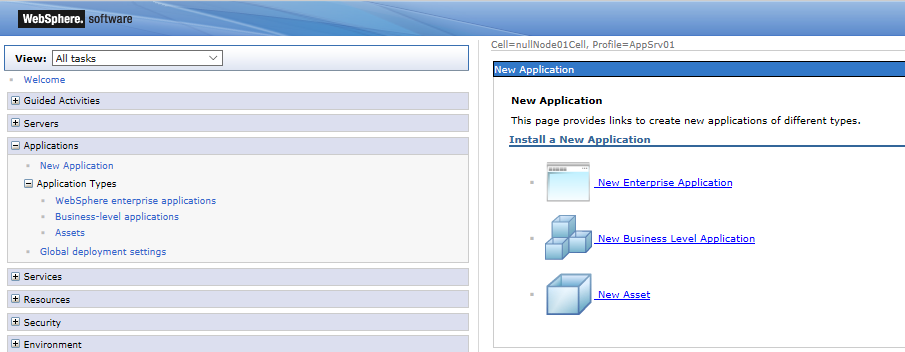
Click Browse, select your EAR (enterprise application), WAR (web archive), JAR (Java archive) or SAR file and select Next.
Click here to download a sample war file. Or, follow the instructions in the article on how to create a war file on Linux.

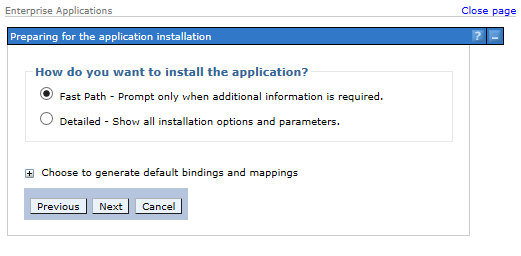
You can select Fast Path for your first application. Select Next.
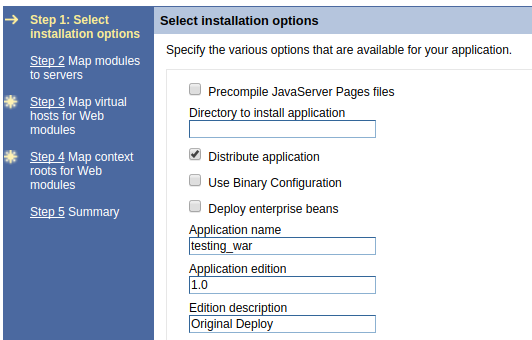
At Step 1, if you want to version control the application using editions, give the application an edition, such as 1.0. Select Next.
At Step 2, select the servers that will produce your application, select Apply, and then select Next. In this example, the application will be produced by both a web server and application server.

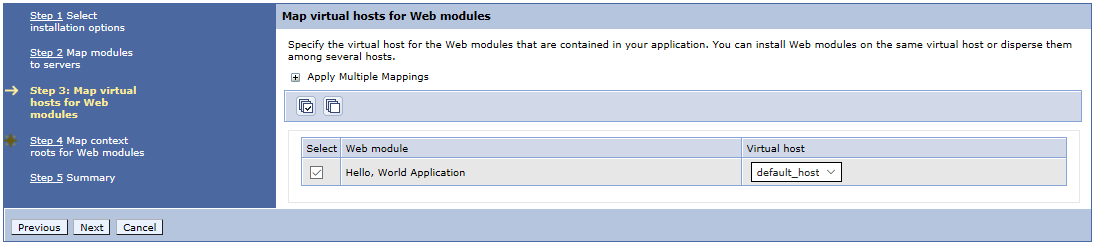
Select the virtual hosts you want to use and select Next. Note that you can use the ibm-web-bnd.xml file to automatically define the virtual host.
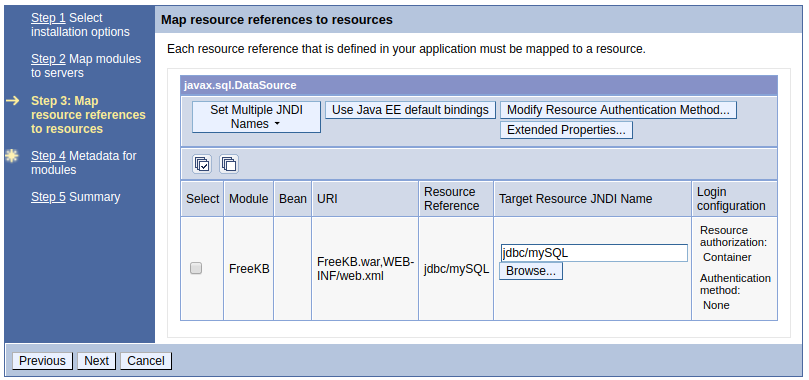
If your application is configured to use a JNDI / data source, select the data source you want to use and select Next. Note that you can use the ibm-web-bnd.xml file to automatically define the data source.
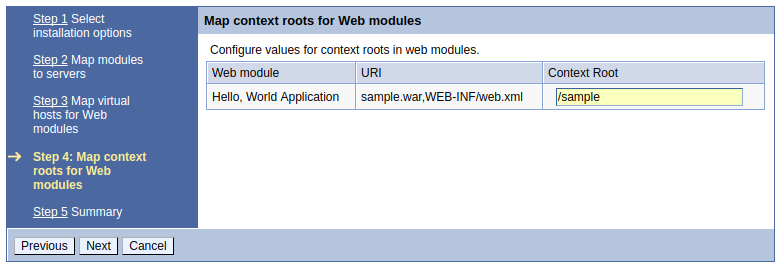
Enter a context root not currently in use, and select Next. Or, you can define the context root in ibm-web-ext.xml (WAR) or application.xml (EAR).
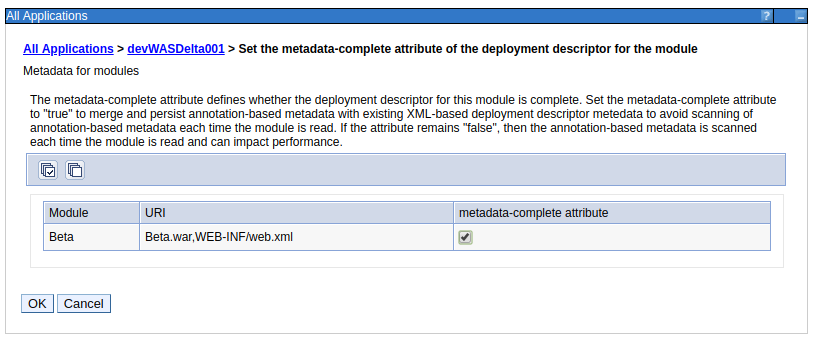
If there are annotations in the app, and metadata-complete="true" or metadata-complete="false" was not included in the apps web.xml file, then you will get the metadata-complete prompt. Check marking the metadata-complete attribute disables annotation scanning when the app is deployed or restarted.
Select Finish.

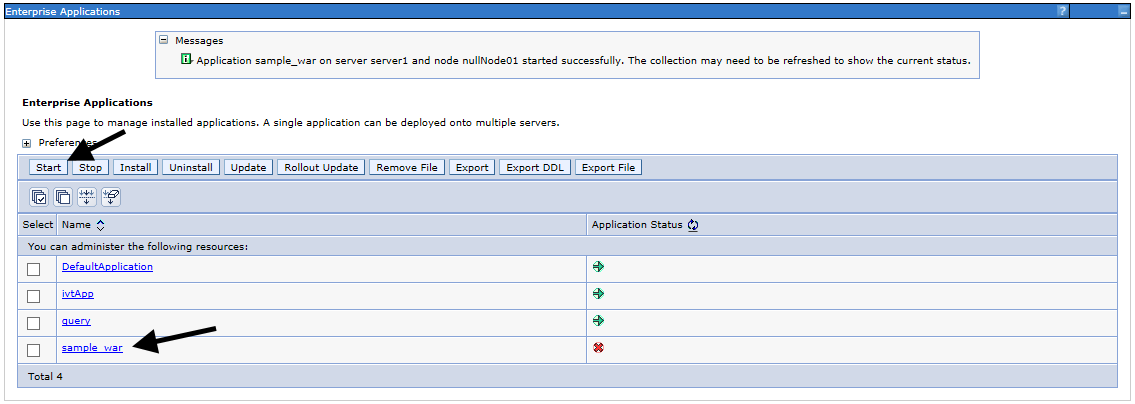
Ensure Application sample_war installed successfully is displayed, and then select Save.

Your newly created application should now be listed, and you can Start your application. After selecting start, a message should appear stating the application was started successfully.
If you deployed an EAR, ensure the context root for each application is correct.
- In the left panel of the web console, expand Applications and select All Applications.
- Select the EAR.
- Select Context Root for Web Modules.
In this example, the context root of the Beta application is set to /beta.

After the application has been deployed, the EAR WAR JAR or SAR file will be located at ${was_install_root}/profiles/dmgr_profile/config/cells/your_cell/applications on the dmgr. The EAR WAR JAR or SAR file will also be located at ${was_install_root}/profiles/node_profile/installedApps on each node server.
You should now be able to get to your new application. In this example, the application is running on a server named was1.software.eng.us, on port 9080. The context root was set to /beta. Putting this together, http://was1.software.eng.us/beta will produce the war application.

Did you find this article helpful?
If so, consider buying me a coffee over at 