
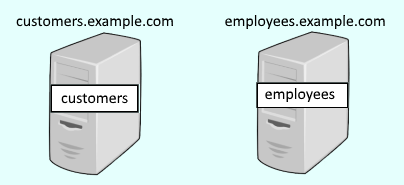
Let's say you've two web applications, one that will be used by your customers and one that will be used by your employees.

The easiest way to create separation between your customers and employees applications is to have two physical servers, one for employees and one for customers. The customers server could have hostname "customers.example.com" and the employees server could have hostname "employees.example.com".
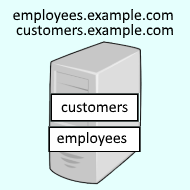
Instead of having separate physical servers, you can use virtual hosts to have both "customers.example.com" and "employees.example.com" on a single physical server. Before virtual hosts, a single physical server could only have only had "customers.example.com" or"employees.example.com", but not both.
A WebSphere application server contains 3 default virtual hosts.
- admin_host
- default_host
- proxy_host
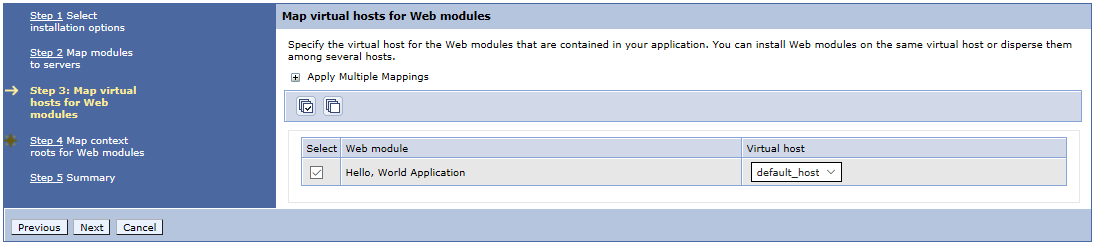
When manually deploying an app to WebSphere, if the application does not have the virtual host defined in the ibm-web-bnd.xml (for web apps) or ibm-webservice-bnd.xml (for service apps) file, there will be a prompt to select the virtual host. The default virtual host that is displayed is defined in the application servers web container settings (for web apps).
You can place the ibm-web-bnd.xml file in the WEB-INF folder of your WAR to define the virtual host. If you do this, you will not be prompted to define the virtual host when manually deploying an app to WebSphere. Instead, the virtual host defined in ibm-web-bnd.xml will be used.
<?xml version="1.0" encoding="UTF-8"?>
<!DOCTYPE xml>
<web-bnd
	xmlns="http://websphere.ibm.com/xml/ns/javaee"
	xmlns:xsi="http://www.w3.org/2001/XMLSchema-instance"
	xsi:schemaLocation="http://websphere.ibm.com/xml/ns/javaee http://websphere.ibm.com/xml/ns/javaee/ibm-web-bnd_1_0.xsd"
	version="1.0">

	<virtual-host name="default_host" />
</web-bnd>
This can also be done via the wsadmin command. But, it usually makes more sense to just use the ibm-web-bnd.xml file.
dmgr_home/Dmgr/bin/wsadmin.sh -user your_username -password your_password -c "print AdminApp.edit('your_ear', '[-MapWebModToVH [[your_war Beta.war,WEB-INF/web.xml default_host]]]')"
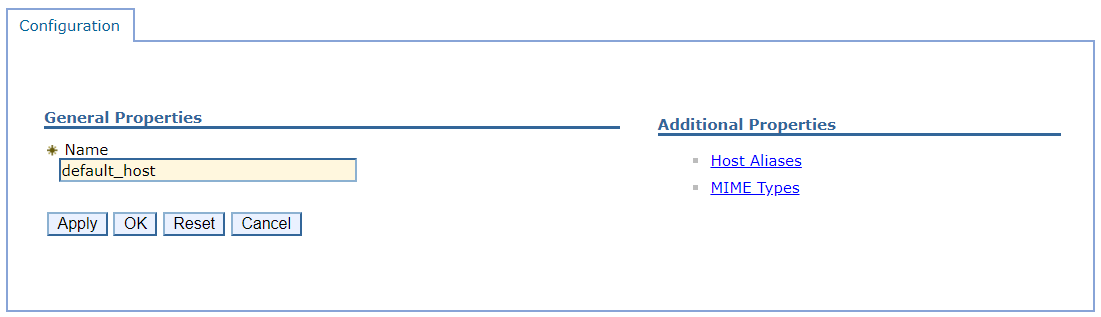
To view and change the configuration of a virtual host:
- In the WebSphere admin console, expand Enviroment.
- Select Virtual hosts.
- Select a virtual host. Applications typically use default_host.
At this page, the name of the virtual host can be changed.
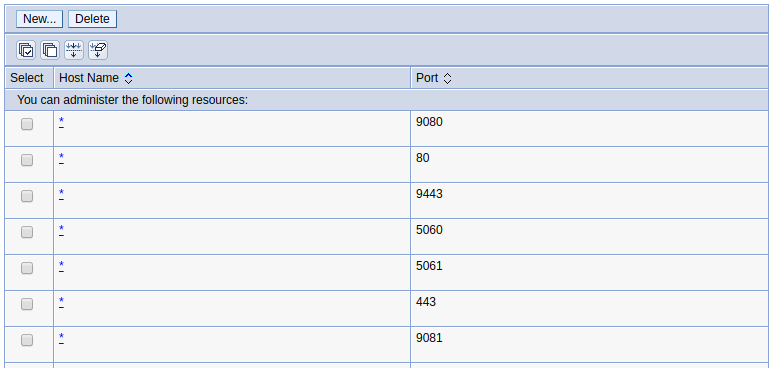
Selecting Host Aliases will list the hostname and ports that are listening. In the example below, we can see some of the ports that default_host is listening on.
Notice in this example that ports 9080 and 9081 are listed. Typically, this suggests that 9080 is being used by one JVM, and port 9081 is being used by another JVM. The JVMs can be running on the same machine (vertical cluster) or on different machines (horizontal cluster).
The ports can then be correlated to a certain type of listener.
- In the WebSphere admin console, expand Servers > Server Types.
- Select WebSphere application servers.
- Select the application server.
- Expand Ports.
In this example, WC_defaulthost of JVM "a" has port 9080. The WC_defaulthost of JVM "b" would have port 9081.
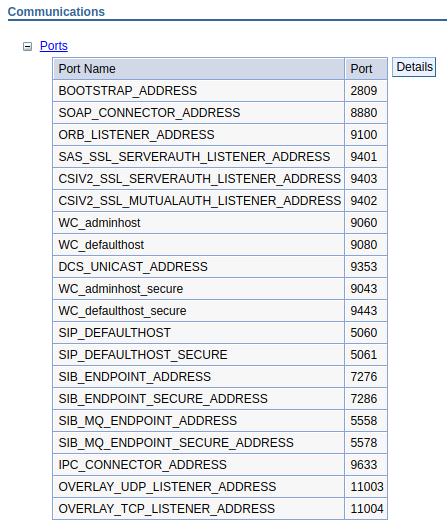
Applications running on the JVM using default_host will be able to be called using the WC_defaulthost port, which is 9080 or 9081 in this example. In a horizontal cluster, the JVMs will likely have different hostnames, so you would pull up the app with something like www.hostname1:9080/context/root and www.hostname2:9081/context/root.

Change the port
Changing the virtual host to listen on a different port would allow you to produce the application on a different port.
- In the WebSphere admin console, expand Servers > Server Types.
- Select WebSphere application servers.
- Select the application server.
- Select Ports.
- Select WC_defaulthost.
- Enter the new port value and select OK.
- Select Save.
In this example, the WC_defaulthost value is updated to be 12345.
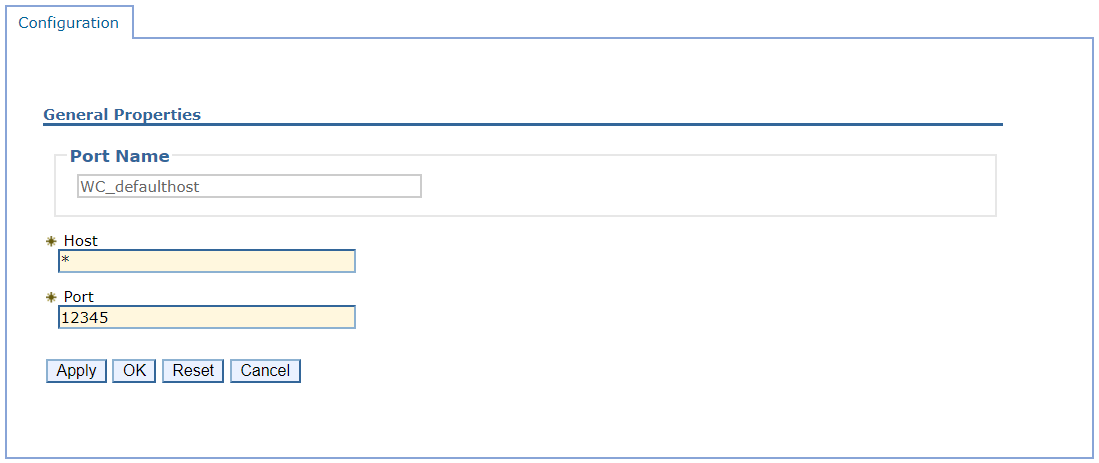
You would be able to produce the app on port 12345 after the JVM is restarted.

This type of change is not limited to just the WC_defaulthost. This change can be done on other ports being used for other listeners.
Did you find this article helpful?
If so, consider buying me a coffee over at 