
Before creating a data source, you will need to add a JDBC driver to WebSphere for the database that you want to connect to, such as MySQL, MariaDB, Oracle, DB2, or SQL Server.
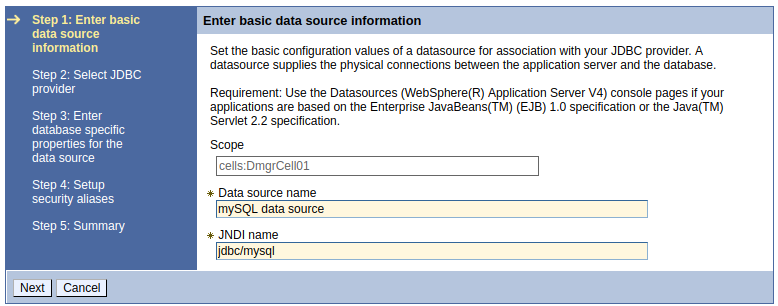
In the WebSphere admin console, expand Resources > JDBC, and select Data sources. In the scope drop-down selector, select the scope for the data source. If you are not familiar with scopes, check out my WebSphere scopes article. Select New. At Step 1, give the data source a unique name and JNDI, such as "jdbc/mySQL" or "jdbc/DB2" or "jdbc/Oracle". Select Next.
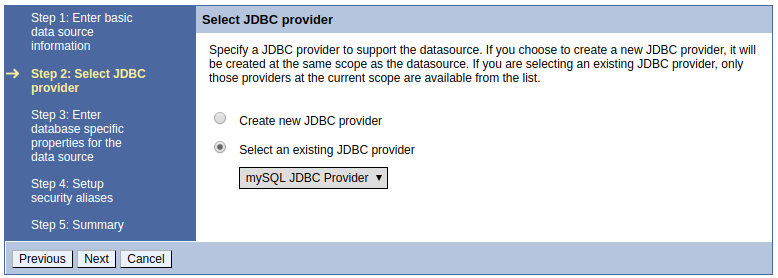
It is usually best to have already created the JDBC Provider so that you can choose "Select an existing JDBC provider" and then select your JDBC provider.
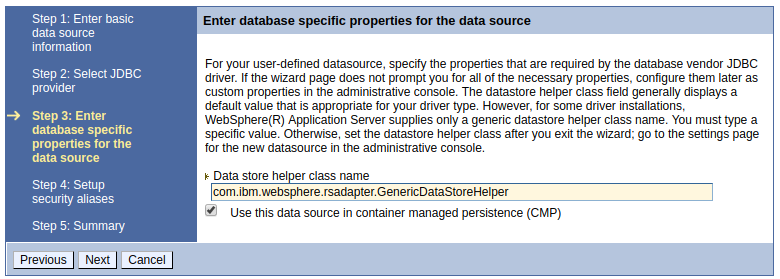
At step 3, in this example, the data source is usng the generic helper class com.ibm.websphere.rsadapter.GenericDataSourceHelper. Each helper class contains error codes for fatal exceptions. In this way, each helper class knows about different fatal errors. Typically, you'll use GenericDataSourceHelper.
When prompted to setup the security aliases, if you've already created the J2C alias, you can optionally select the J2C alias. See IBM WebSphere - JDBC data source and J2C alias.

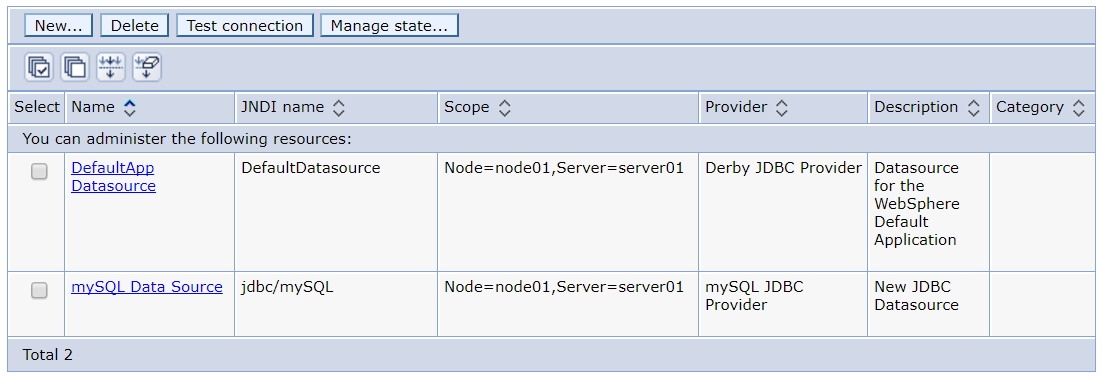
Select Finish. The new data source should now be listed.
Configure the database name, port, and hostname.
- Select your data source.
- Select Custom properties.
- Select or add databaseName, enter your database name, and select OK.
- Select or add serverName, enter your server hostname, and select OK.
- If using MySQL, add serverTimezone, enter UTC, and select OK.
- Select Save.
Did you find this article helpful?
If so, consider buying me a coffee over at 