
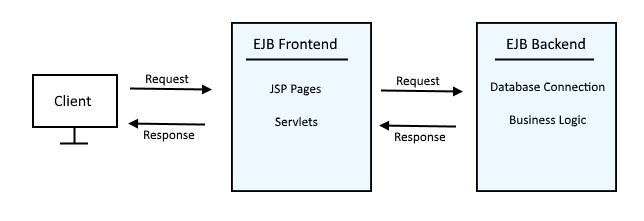
A shared library is a file or a collection of files that can be used (shared) by multiple applications. For example, let's say you have an EJB, and the EJB backend is produced via EJBBackend.jar. You could create a shared library so that multiple applications can use the EJBBackend.jar.
Create the shared library
In the WebSphere admin console, expand Environment and select Shared libraries. Select an appropriate scope. Select New. Give your shared library a name, and in classpath, enter the path to the file being shared, or the path to the directory that contains the files being shared. Select OK. Select Save.
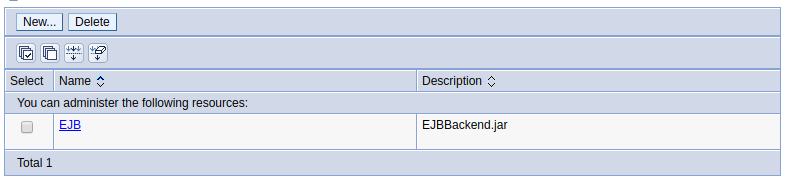
In this example, a shared library named EJB is created, which contains a reference to EJBBackend.jar.
You can either configure an application server to use a Shared Library, so that all of the applications in the application server can use the files in the Shared Library. Or, you can configure one or more applications to use the Shared Library, so that only certain applications can use the files in the Shared Library.
To configure an application server to use a Shared Library, expand Servers > Server types > your application server > Java and Process Management > Class Loader > New > Classes loaded with parent loader first or Classes loaded with local class loader first > OK.
Note: "Classes loaded with parent loader first" is the default selection. If the application server is configured with local class loader, then the shared library will be loaded before the local class loader.
Select the newly created classloader > Shared library references > Add > your Shared Library > OK > Save. Restart the application server for this change to take effect.

To configure an application to use a Shared Library, expand Applications > Enterprise applications > Shared library references. From the list of available shared libraries, highlight your shared library, and move the shared library into selected. Select OK. Restart the application for this change to take effect.
Did you find this article helpful?
If so, consider buying me a coffee over at 