
This assumes you have Backstage up and running. If not, check out my articles.
It's also important to recognize that Backstage is a Developer Portal, a single pane of glass that shows all your stuff, your websites, APIs, services, documentation, et cetera.
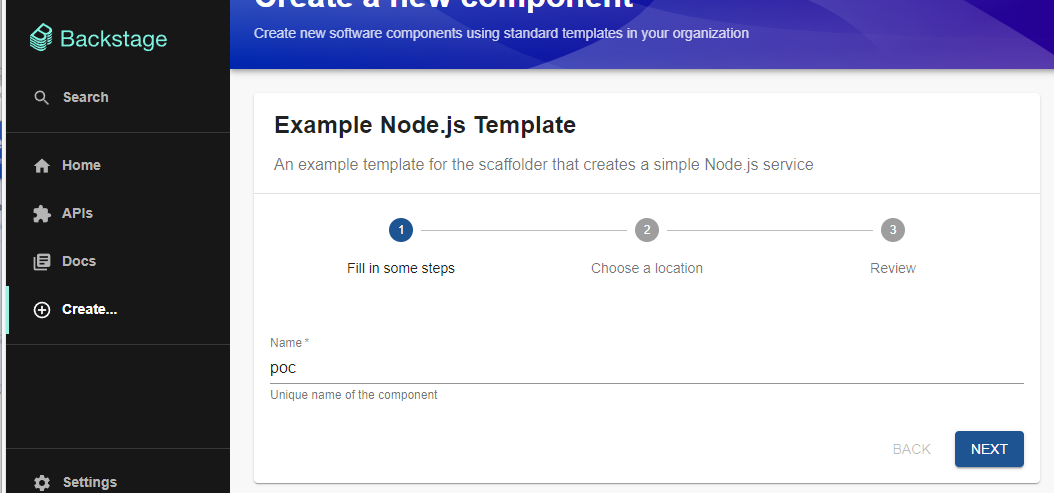
By default, there should be a Node.js template. Let's click Choose.
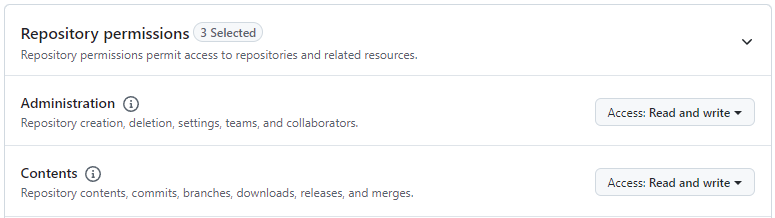
First and foremost, you are going to need a GitHub.com Personal Access Token (PAT). For example, in my GitHub.com profile settings, I created a Personal Access Token named "backstage".

And the Personal Access Token had Read and Write permissions for both Administration and Contents.
And then in your backstage app-config.yaml file, you can include the Personal Access Token.
integrations:
  github:
    - host: github.com
      token: github_pat_11ACAxyx123W7jxgYLrS1i_KaLuvvtOw0Fdtv8ZiY1oqnmK3ki05khylabcDEFJ82yFB3sdf23129B9JOQz
I gave my component a name with node spaces.
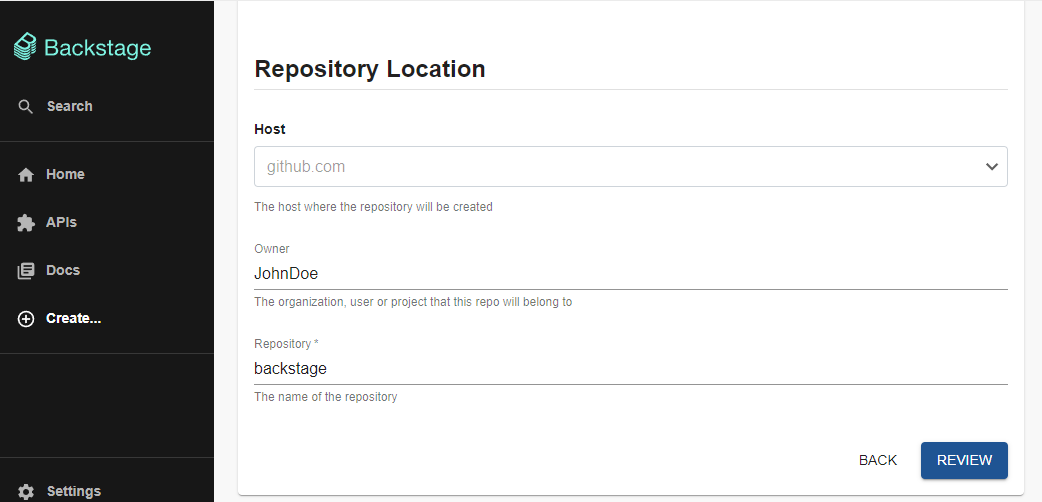
Let's say your GitHub.com repository is https://github.com/JJohnDoe. In this scenario, you'll use JohnDoe. This is going to create a new repo in GitHub.com so you'll need to select a name that does not exist in your GitHub.com account.
The Review page should look something like this. Let's go with Create.

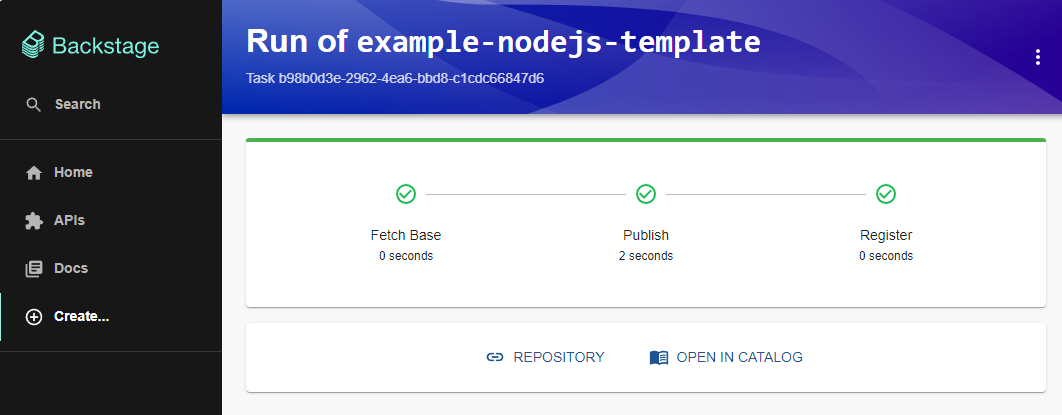
And if no issues are detected, something like this should be displayed.
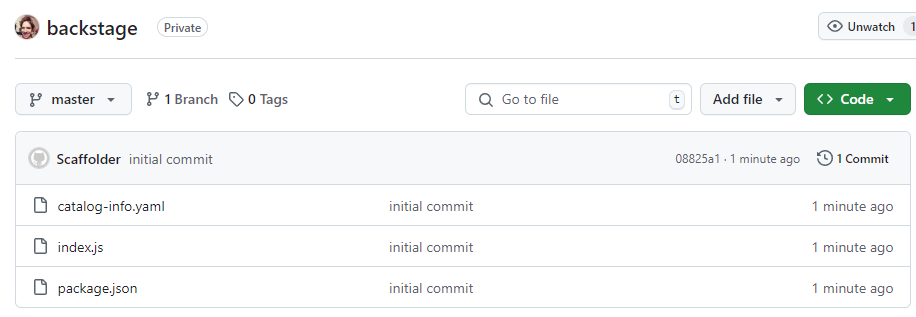
In your GitHub.com account, you should now have a new private repository with a few files.
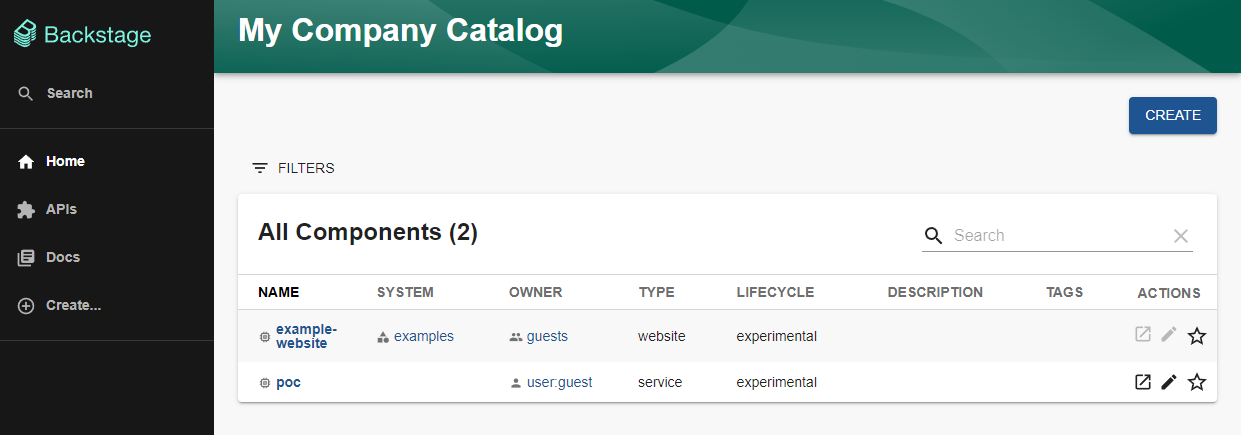
And back at the Backstage home page, your service should be listed.
Did you find this article helpful?
If so, consider buying me a coffee over at 