
This assumes you have Backstage up and running. If not, check out my articles.
It's also important to recognize that Backstage is a Developer Portal, a single pane of glass that shows all your stuff, your websites, APIs, services, documentation, et cetera.
For the sake of this walkthrough, let's say I have a simple Python service that I want to add to Backstage, and the files for my Python service are in one of my github.com repo's.
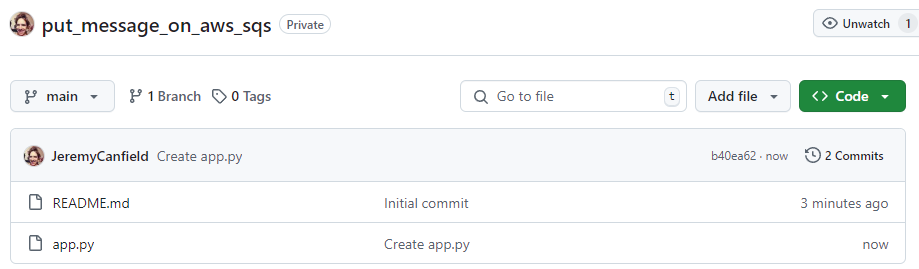
First and foremost, we are going to need to add a YAML file to the repo that backstage will use. For example, let's say a YAML file named catalog-info.yaml is added to your github.com repo with the following content.
apiVersion: backstage.io/v1alpha1
kind: Component
metadata:
  name: "put_message_on_aws_sqs"
spec:
  type: service
  owner: user:guest
  lifecycle: experimental
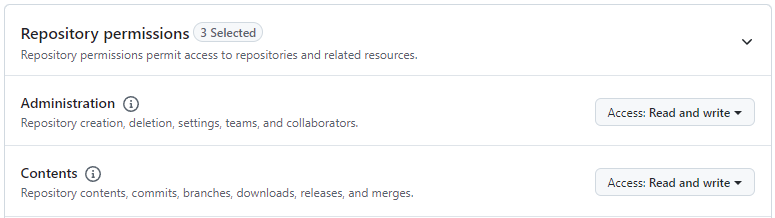
You are going to need a GitHub.com Personal Access Token (PAT). For example, in my GitHub.com profile settings, I have a fine-grained Personal Access Token named "backstage".

And the Personal Access Token has Read and Write permissions for all current and future repositories for both Administration and Contents.
And my Backstage app-config.yaml file includes the Personal Access Token.
integrations:
  github:
    - host: github.com
      token: github_pat_11ACAxyx123W7jxgYLrS1i_KaLuvvtOw0Fdtv8ZiY1oqnmK3ki05khylabcDEFJ82yFB3sdf23129B9JOQz
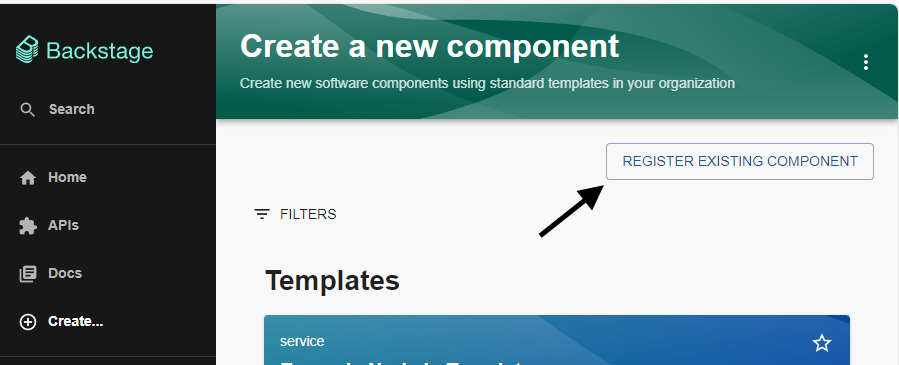
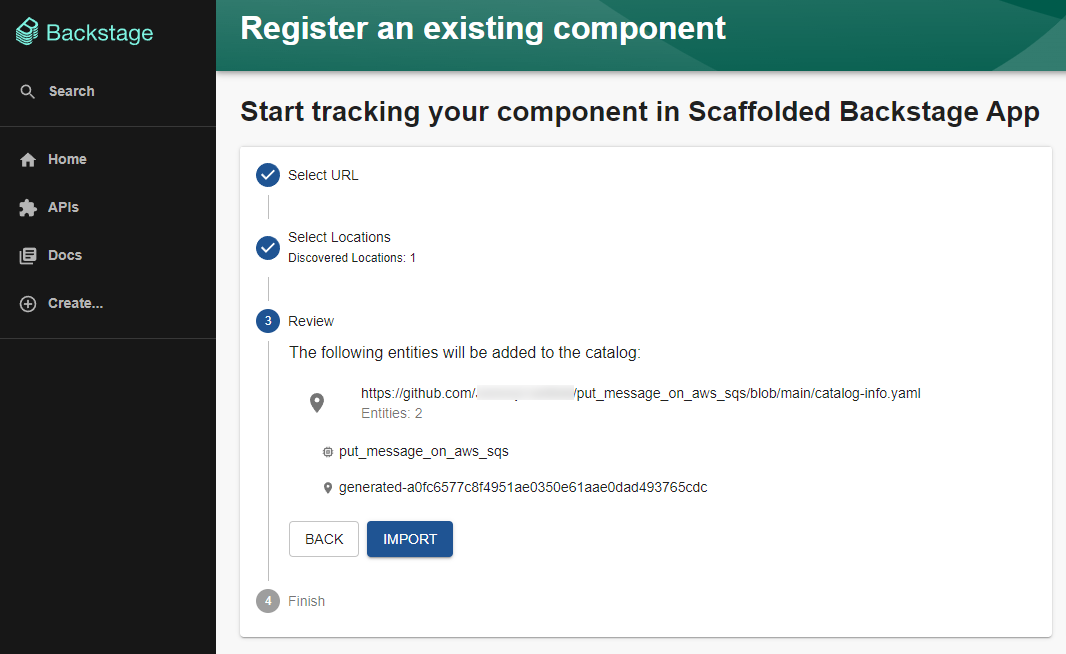
In the Backstage console, let's select Create > Register Existing Component.
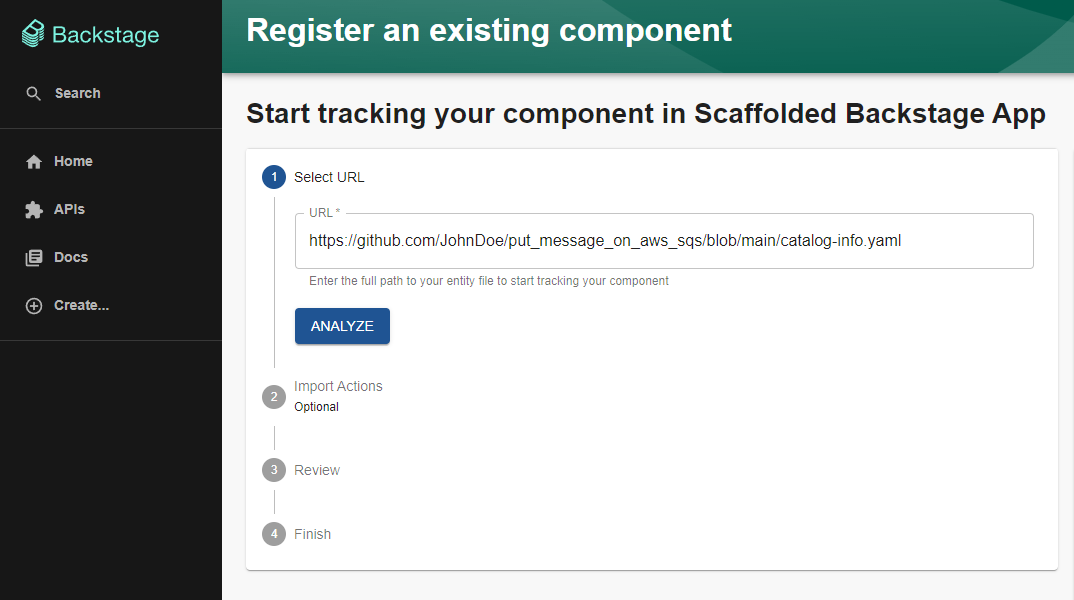
Provide the full path to the YAML file you added in your github.com repo and click the Analyze button.
Assuming there are no issues, you should be able to walk through the prompts and Import.
And the component should be listed on the Backstage home page.

Did you find this article helpful?
If so, consider buying me a coffee over at 