
This assumes you have read our getting started article on updating an WebSphere application. When updating an application, one of the options is to "Replace, add, or delete multiple files".

This article describes how to add multiple files.
- Refer to this article to add a single file to an application.
- Refer to this article to delete multiple files from an application.
- Refer to this article to update multiple files in an application.
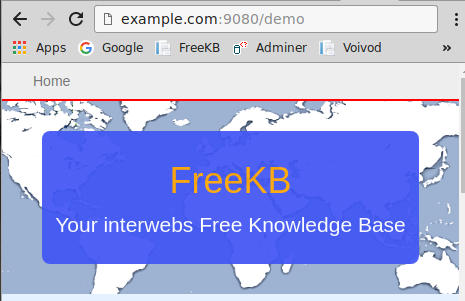
Let's say an application has a context root of /demo, thus you are able to view the application in a web browser by navigating to http://example.com:9080/demo.
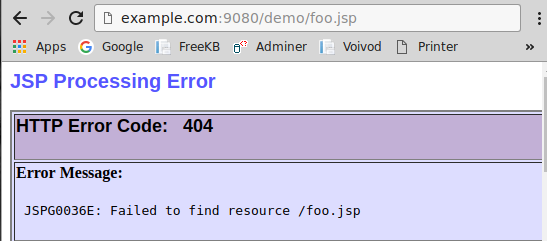
Let's say that both foo.jsp and foo.class do not exist in the application. Attempting to request foo.jsp will return the following.
Let's say the application is a WAR deployed to ${WAS_INSTALL_ROOT}/profiles/your_profile/installedApps/your_cell/demo.ear/demo.war. In this scenario, you would create the following files and directories on your local PC.
demo.war (directory) -> foo.jsp (file)
demo.war (directory) -> WEB-INF (directory) -> classes (directory) -> foo.class (file)
Then, you would compress the demo.war directory, such as demo.zip. On Linux, the view command can be used to see the structure of the zip archive.
Be aware that if foo.jsp or foo.class already exist in the application, the following would update foo.jsp and foo.class, not add them.
view demo.zip

demo.war/
demo.war/foo.jsp
demo.war/WEB-INF/classes/foo.class
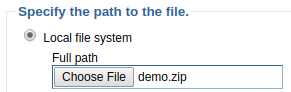
In the WebSphere admin console, select Applications > Applications types > WebSphere enterprise applications > your app > Update > Replace, add, or delete multiple files. Select your zip archive and select Next > OK > Save.
The app does not need to be restarted for this change to take effect. Now, navigating to foo.jsp should successfully display the JSP page.

Did you find this article helpful?
If so, consider buying me a coffee over at 