
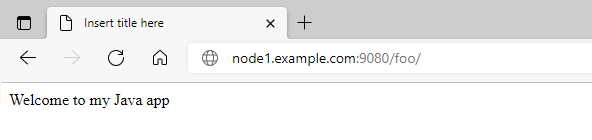
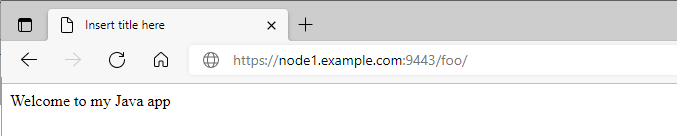
Let's say you have created a simple Java app and have deployed the app to WebSphere. In this example, the app is requested over HTTP from node1.example.com:9080 which is the hostname and port used to request the app from WebSphere.
Over over HTTPS on port 9443.
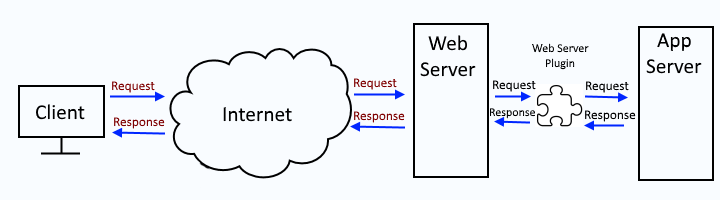
The IBM Web Server Plugin is used to facilitate communication between an IBM IHS web server and a WebSphere application server so that the application can be requested from the IBM IHS web server.
Install IHS web server
If you've not yet installed an IBM IHS web server, refer to this article for the walkthrough on how to install an IHS web server.
Install the web server plugin (plugin-cfg.xml) package
The web server plugin will need to be installed on your IHS web server using one of these methods.
- Install using Installation Manager GUI
- Install using Installation Manager command line tool (imcl) install command
- Install using Installation Manager command line tool (imcl) input command (response.xml)
Add the web server to your deployment manager
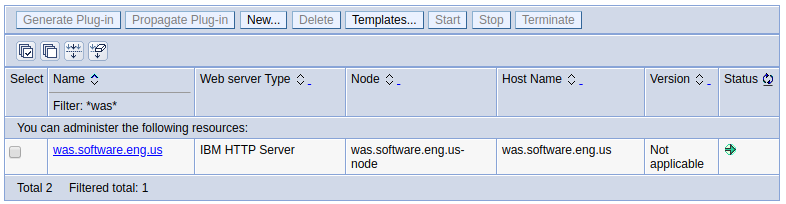
Refer to this article for the walkthrough on adding the web server to your deployment manager. In this example, an IHS web server named was.software.eng.us has been added to the dmgr.
Map applications to application server(s) and IHS web server
Next you will need to configure applications to use one or more application servers and the IHS web server (aka Manage Modules). In this example, the Beta application is configured to use server01 application server and IHS web server.

global vs. unique plugin-cfg.xml files
By default, the dmgr has a global web server plugin at Environment > Update global web server plug-in configuration. However, a significant limitation with the global web server plugin is that there is not an option to automatically generate / re-generate or propagate the plugin-cfg.xml file from the dmgr to your IHS web server. The generation / regeneration / propagation would have to be done manually. For this reason, a unique plugin-cfg.xml is almost always used. The global web server plugin is located at:
${WAS_INSTALL_ROOT}/profiles/your_profile/config/cells/plugin-cfg.xml
You'll want to generate / re-generate a unique plugin-cfg.xml file. The unique plugin-cfg.xml file will be located at located at:
${WAS_INSTALL_ROOT}/profiles/your_profile/config/cells/your_cell/nodes/your_node/servers/your_server/plugin-cfg.xml
Generate / Regenerate the plugin-cfg.xml file
You can now generate / re-generate the unique plugin-cfg.xml file. Typically, "Automatically genereate the plug-in configuration file" is selected so that the plugin-cfg.xml file is automatically re-generated when a change is made to the master configuration file.
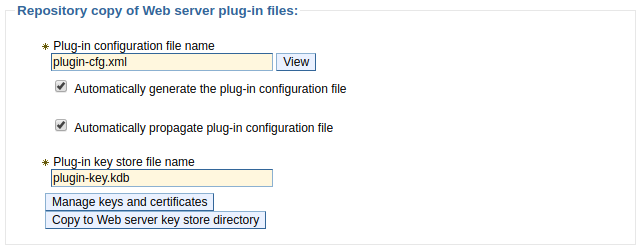
View the plugin-cfg.xml file
The unique plugin-cfg.xml file can be viewed using the dmgr by clicking on the View button.
The plugin-cfg.xml file should now have the context root of the applications that are configured to use the IHS web server, which is /beta in this example.
<UriGroup Name="default_host_yourCluster_URIs">
  <Uri Name="/beta/*"/>
</UriGroup>
Propagate the plugin-cfg.xml file
Lastly, you will propagate the plugin-cfg.xml file from the dmgr to your IHS web server.
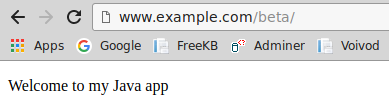
And you should also be able to get your application from the web server. In this example, the web server is listening on port 80.
Did you find this article helpful?
If so, consider buying me a coffee over at 